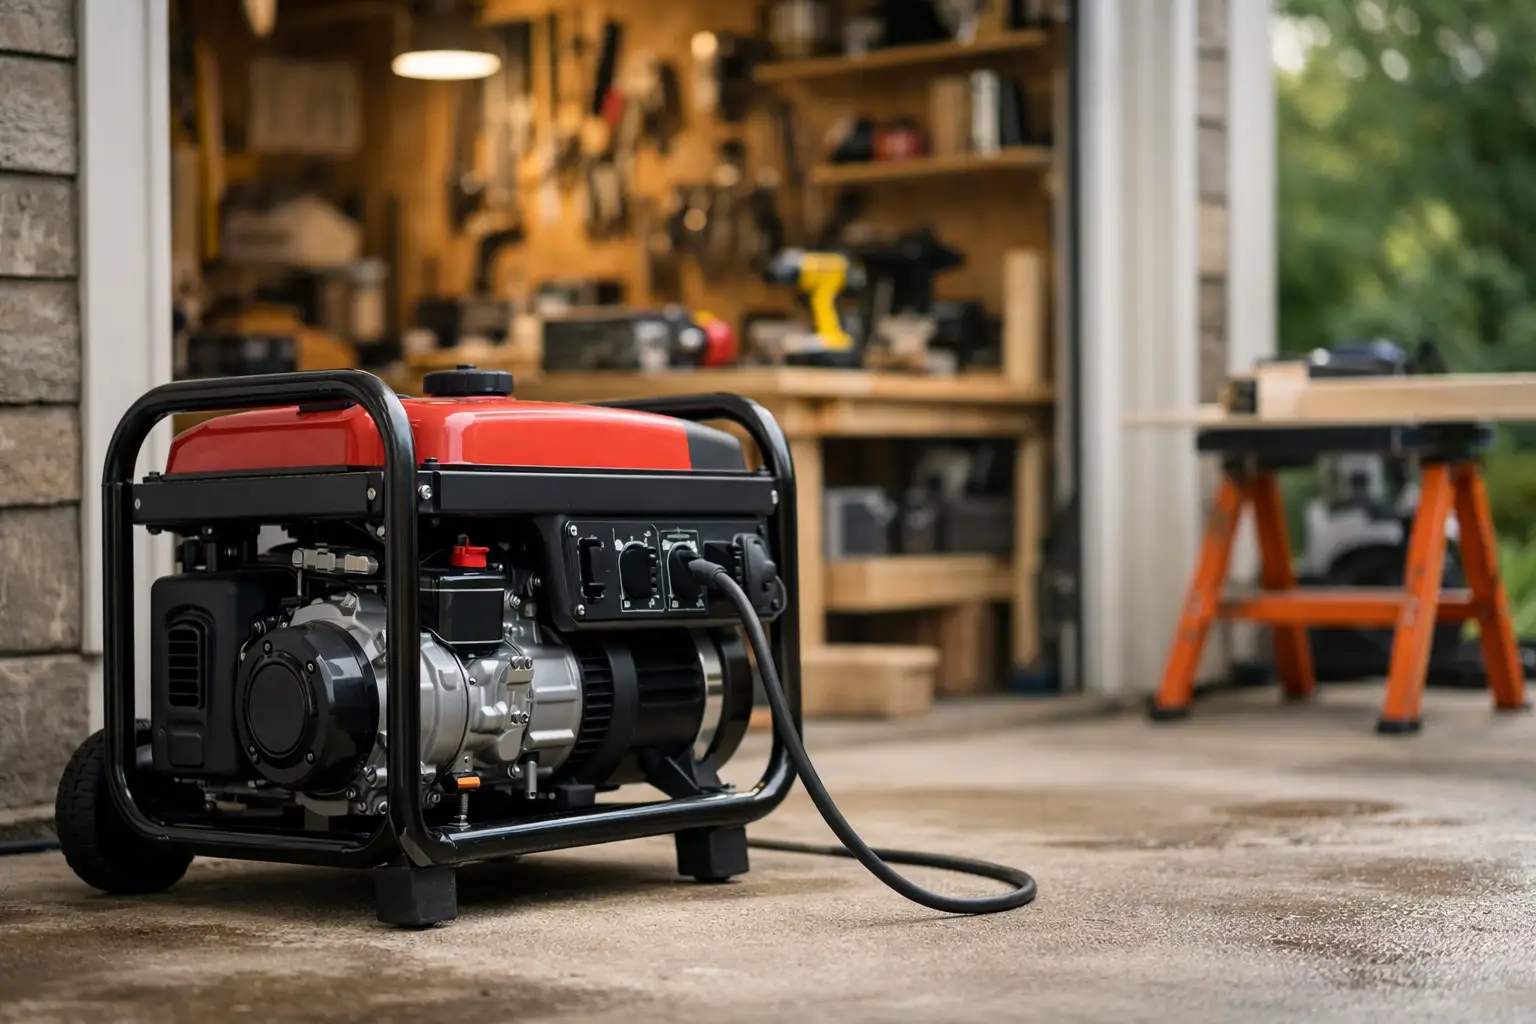
A generator that starts easily but feels sluggish under load may not have a fuel or electrical problem. It may simply be struggling to breathe. Knowing when to replace a generator air filter is one of the simplest and least expensive ways to help protect the engine, maintain proper airflow, and keep your generator ready for home backup, RV travel, jobsite use, or camping.
The air filter keeps dirt, grass clippings, sawdust, and road dust out of the carburetor or fuel-injection system. When it is neglected, debris can reduce airflow, increase fuel use, foul the spark plug, and accelerate engine wear. A filter is inexpensive. Engine repairs are not.
When Should You Replace a Generator Air Filter?
Your owner’s manual is the final authority because air-filter service intervals vary by engine and operating conditions. Some portable generators call for inspection after a relatively small number of operating hours and replacement at a longer interval, while others use washable foam elements that can be cleaned and serviced. Dusty, hot, or demanding operating conditions may require more frequent maintenance.
Hours alone do not tell the whole story. A generator used occasionally in a clean garage may go a long time between replacements. A unit running beside a dusty construction area, on a dry campground, or near a gravel driveway can need attention much sooner. Check the filter after any extended outage or work project where the generator ran for several days.
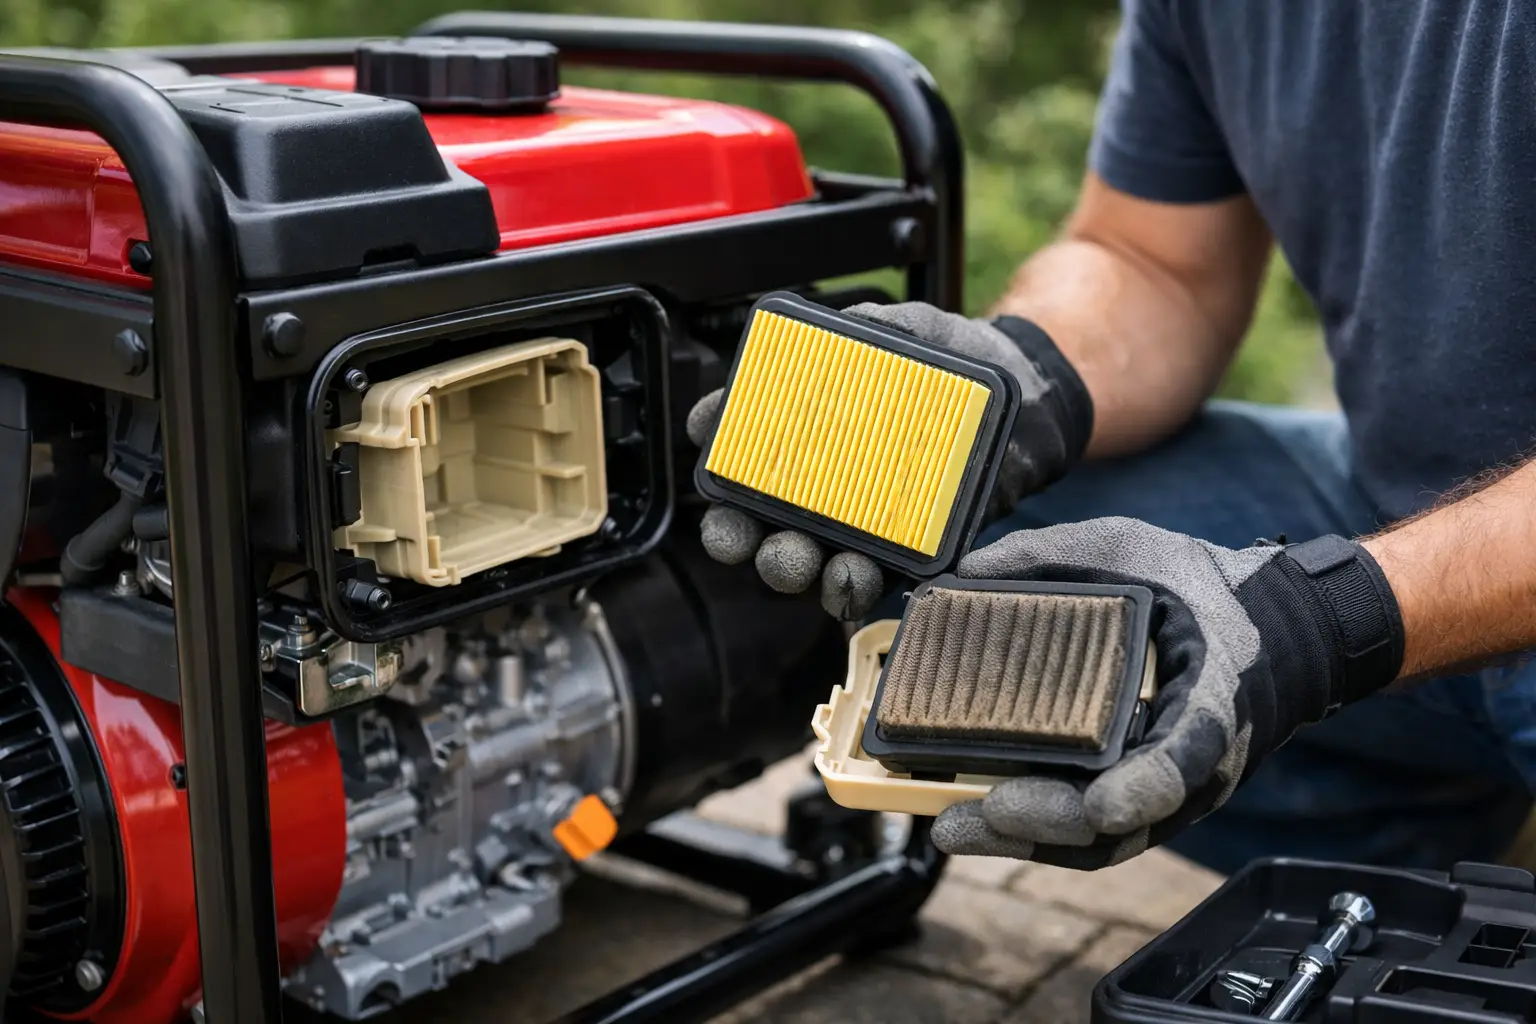
Replace the element if it is torn, brittle, oil-soaked, heavily stained, or remains clogged after the manufacturer-recommended cleaning method. Do not judge only by color. Some foam filters look dark after use but can still be cleaned and re-oiled if the manufacturer allows it. Paper filters, however, are usually replacement items. Blowing them out with high-pressure compressed air can damage the filter media or push dirt deeper into it.
Signs the Filter Needs Attention
A dirty air filter can cause hard starting, rough running, surging, black exhaust smoke, reduced power, or unusually high fuel consumption. Those same symptoms can also point to stale fuel, a blocked carburetor jet, an overloaded generator, or a spark plug issue. That is why inspecting the filter is a sensible first step, not an automatic diagnosis.
If the generator shuts down under normal loads, also look beyond the engine. A damaged extension cord, an undersized cord feeding a circular saw, or a loose connection at an inlet box can create separate power-delivery problems. Good maintenance means checking the whole setup rather than replacing parts at random.
What You Need Before You Start
Gather the correct replacement filter, a clean rag, and any cleaning supplies or filter oil specified by the manufacturer if your unit uses a washable foam element. A screwdriver or socket may be needed for the air-cleaner cover. A screwdriver or socket may be needed for the air-cleaner cover.
Buy a filter by generator model and engine specification, not by appearance alone. Two filters can look nearly identical while differing in thickness, gasket shape, or airflow rating. The model number is usually on the generator frame, control panel, or engine shroud. For an inverter generator, check the manual carefully because compact enclosed models often use smaller, model-specific elements.
Aftermarket filters can be a reasonable option when they clearly list the exact compatible generator and engine model. For equipment that runs during extended outages or supports high-demand loads such as a well pump, choosing a filter from the generator manufacturer or a reputable filtration brand can provide greater confidence in fit, sealing, and filtration performance. The key is proper compatibility, not simply the lowest price.
How to Replace a Generator Air Filter
Work outdoors or in a well-ventilated area, with the generator on level ground. Shut the engine off, turn the fuel valve off if equipped, and allow the engine to cool completely before servicing the air filter. Keep the ignition switch in the OFF position and follow the manufacturer’s service instructions for any additional precautions.
Open the Air Cleaner Carefully
Locate the air-filter housing, generally on the side of the engine near the carburetor or throttle body. Release the cover clips or remove its retaining screw. Keep an eye on how the cover, gasket, and old filter sit in the housing. A quick photo on your phone can help if the assembly has several layers.
Lift the filter out without shaking dirt into the intake opening. Before installing anything new, wipe the inside of the cover and the filter box with a clean, slightly damp rag. Do not push a rag, brush, or compressed air nozzle into the intake passage. The goal is to remove loose debris around the housing, not send it into the engine.
Inspect the Old Element and Housing
Look for cracks in the rubber sealing edge, torn paper pleats, deteriorated foam, mouse nesting material, or a missing gasket. If dirt made it past the filter, make a note of it. The new filter must sit flat and seal evenly all the way around.
On foam-filter systems, inspect the backing screen or secondary paper element if your generator uses one. Some engines have a dual-element setup: a foam pre-cleaner captures larger debris, while a paper element handles fine dust. Replace or service both as the manual directs. Installing only one part of a two-part system leaves the engine less protected.
Install the New or Serviced Filter
For a paper element, place the new filter in the housing with the sealing surface fully seated. Do not force it or fold the pleats. Reinstall the cover and tighten the fastener until secure, but do not overtighten a plastic cover or strip a small screw.
For a washable foam element, clean it only with the method listed in the manual. After washing, let it dry completely. If the manufacturer specifies filter oil, the foam should be evenly coated without being saturated or dripping.
Once the filter and cover are securely installed, return the fuel valve and controls to their normal operating positions and start the generator according to the owner’s manual. Let it run briefly and listen for smooth, steady operation before applying a load. If everything sounds normal, connect a modest load first and then return to normal service.
Common Generator Air Filter Maintenance Mistakes
The most common mistake is running the generator with the air-filter cover removed “just for a quick test.” Even a short run can pull abrasive dust directly into the engine, especially in dry conditions. If you are troubleshooting a no-start condition, reinstall the filter and cover before starting.
Another mistake is using a universal foam sheet cut to fit when a proper filter is available. It may appear to seal, but the density and dimensions may not match the engine’s needs. Avoid using shop towels, household furnace-filter material, or improvised screens as substitutes. They can restrict airflow, shed fibers, or fail to filter fine particles.
Finally, do not confuse a clean-looking air filter with a fully prepared generator. Before an outage, also check the engine-oil level, fuel condition, starting battery on electric-start models, and the condition of your generator cords.
Choosing the Right Generator Air Filter for Your Usage
Usage conditions should guide how often you inspect the filter and how many spare filters you keep. A homeowner with a dual-fuel portable generator used only for storm outages may need one replacement filter stored with maintenance supplies. An RV owner traveling on dusty roads, or a contractor using a generator around concrete cutting and landscaping work, should keep multiple correct filters on hand.
This is especially useful for equipment that supports high-priority loads. A generator running a refrigerator, sump pump, furnace blower, or well pump is not the place to discover that the only filter on hand is damaged. Likewise, owners of inverter generators used for camping may appreciate a spare because repair shops and parts stores are rarely convenient when traveling.
Store replacement filters in their sealed packaging in a dry location, away from gasoline cans and solvents. Write the generator model and purchase date on the package. It takes seconds and prevents guesswork when maintenance is due months later.
A clean, properly installed air filter helps the engine get the airflow it needs for efficient operation, but it will not solve every generator problem. Treat it as a small preparedness item: keep the correct filter nearby, inspect it before the next demanding run, and your generator will be more likely to be ready when the lights go out.