As an Amazon Associate I earn from qualifying purchases.
A generator oil change interval depends on the model, engine design, operating hours, and conditions in which the generator runs. Many portable generators require an early oil change during break-in, followed by regular service based on operating hours or the manufacturer’s maintenance schedule. Checking the oil level regularly and changing it at the correct interval helps reduce engine wear and keeps the generator ready for extended use.
The owner’s manual is always the final authority because oil capacity, engine design, and recommended oil type vary by model. Still, understanding the common intervals and the conditions that shorten them helps homeowners, RV travelers, campers, and jobsite users maintain equipment with confidence.
The Typical Generator Oil Change Interval
Quick answer: Many portable generators need their first oil change during the initial break-in period, often within the first 20 to 30 hours, followed by an oil-change interval specified by the manufacturer. Some models use a 50- to 100-hour range, while others have different schedules. Always check the owner’s manual for the exact interval.
For many portable gasoline generators, the first oil change comes sooner than people expect. Depending on the model, the initial service may be due within the first few hours of operation or during the first 20 to 30 hours. New engine components can shed small particles during break-in, which is one reason manufacturers often specify an early oil change. Always follow the interval listed for your generator rather than treating 5 to 30 hours as a universal rule.
After break-in, oil-change intervals vary by generator model. Many portable generators specify service somewhere in the 50- to 100-hour range, while some models use different intervals based on engine design and operating conditions. Do not assume that an inverter generator or synthetic oil automatically allows a longer interval. The manufacturer’s maintenance schedule should determine when the oil needs to be changed.
For standby generators, maintenance is often tracked by both hours and calendar time. Even if the generator runs mainly during exercise cycles and a few outages, calendar-based maintenance may still apply, so check the manufacturer’s schedule rather than relying only on the hour meter. Oil can collect moisture and fuel contamination during short run periods, especially in humid climates or when the engine never reaches full operating temperature.
| Generator situation | Practical oil-change approach | | —————————— | —————————————————— | | New portable generator | Follow the manufacturer’s initial break-in interval | | Typical portable use | Follow the model’s specified operating-hour interval | | Heavy load or dusty conditions | Use the shorter interval when the manual recommends it | | Infrequent home backup use | Check for both hour-based and calendar-based service | | Standby generator | Follow the manufacturer’s maintenance schedule |
If you are trying to find the right interval for a specific generator, look up the model number in the owner’s manual before choosing an oil-change schedule.
A practical starting point
If you do not have the manual in front of you, use this conservative planning approach until you confirm the model-specific schedule:
- Change break-in oil at the manufacturer’s stated early-service interval, which may occur during the first few hours or within the first 20 to 30 hours, depending on the model.
- Use the manufacturer’s stated interval after break-in; many portable models fall in the 50- to 100-hour range, but the exact schedule varies.
- For lightly used home backup and RV generators, follow any calendar-based oil-change interval specified by the manufacturer, even when the hour total is low.
- Shorten the interval when the generator works hard in heat, dust, or extended emergency operation, if the manufacturer recommends more frequent service.
An inexpensive hour meter is one of the most useful maintenance accessories for a portable generator. It eliminates guesswork, particularly when several family members use the equipment or when a generator serves an RV, trailer, or small jobsite.
Why Your Usage Can Shorten the Interval
Hours matter, but the type of hours matters too. A generator powering a refrigerator, a few lights, and a furnace blower for occasional outages is under a very different load than one supporting a well pump, construction tools, or an RV air conditioner for days at a time.
High ambient temperatures thin oil and increase oxidation. Heavy electrical loads make the engine work harder and raise internal temperatures. Dusty jobsites can increase the need for air-filter and general engine maintenance. Long runs during storm recovery may also mean the engine is exposed to more heat cycles and fuel use than it sees in a full year of casual ownership.
Short-run use creates a different problem. Starting a generator for five or ten minutes and shutting it down repeatedly may not let the oil get hot enough to evaporate moisture. For a home standby setup, follow the manufacturer’s exercise instructions and use both calendar time and operating hours when the maintenance schedule calls for them.
If your generator frequently powers a well pump through a properly sized
inlet box and transfer arrangement, pay particular attention to loading. A pump’s starting surge can be demanding, and an undersized generator may run near its limit. That does not directly change the oil specification, but consistently heavy operation is a good reason to use the shorter end of the recommended oil-change range.
Check Your Generator Oil Before Every Long Run
An oil change interval does not replace regular oil-level checks. Small portable generators often have relatively low oil capacity, so even modest oil consumption can lower the level quickly. Low oil can trigger a shutdown sensor, but relying on that feature is not a maintenance plan. The sensor may prevent catastrophic damage, yet it cannot reverse wear that has already started.
Check the oil on level ground with the engine off and cooled according to the manual’s procedure. Some dipsticks should be inserted without threading them in, while others are checked differently. Overfilling is also a concern because excess oil can foam, smoke, or foul components.
Look beyond the level. Fresh oil is usually amber, while used oil darkens normally over time. Dark oil alone does not always mean it has failed. More concerning signs include a milky appearance from moisture contamination, a strong gasoline smell that may indicate fuel dilution, visible metallic glitter, or a level that rises unexpectedly. Those symptoms justify stopping to investigate rather than simply adding more oil.
Choosing Oil for the Season and Engine
Most air-cooled portable generators use four-stroke engine oil, but the recommended viscosity varies by engine and operating temperature. SAE 10W-30 is common on many models, while some manufacturers specify SAE 30 or synthetic 5W-30 for particular temperature ranges. Use the viscosity and service classification listed in your generator owner’s manual rather than choosing oil based on the season alone.
Do not use two-stroke oil in a four-stroke generator crankcase. Also avoid treating automotive oil recommendations as universal. The correct choice depends on your specific engine, operating temperature, and manufacturer guidance.
Keep the needed oil and a replacement filter on hand if your generator uses one. Some smaller inverter and open-frame portable generators do not use a replaceable oil filter, while larger standby units and some commercial engines do. A filter change may have its own interval, so check the manual rather than assuming it matches every oil drain.
How to Change Generator Oil Without Making a Mess
Run the generator for a few minutes first if the manual permits it, then shut it down and allow it to cool enough for safe handling. Slightly warm oil drains more completely, but hot exhaust parts and hot oil can burn skin. Turn the fuel valve off where applicable, remove the ignition source as directed, and place the generator on a level surface.
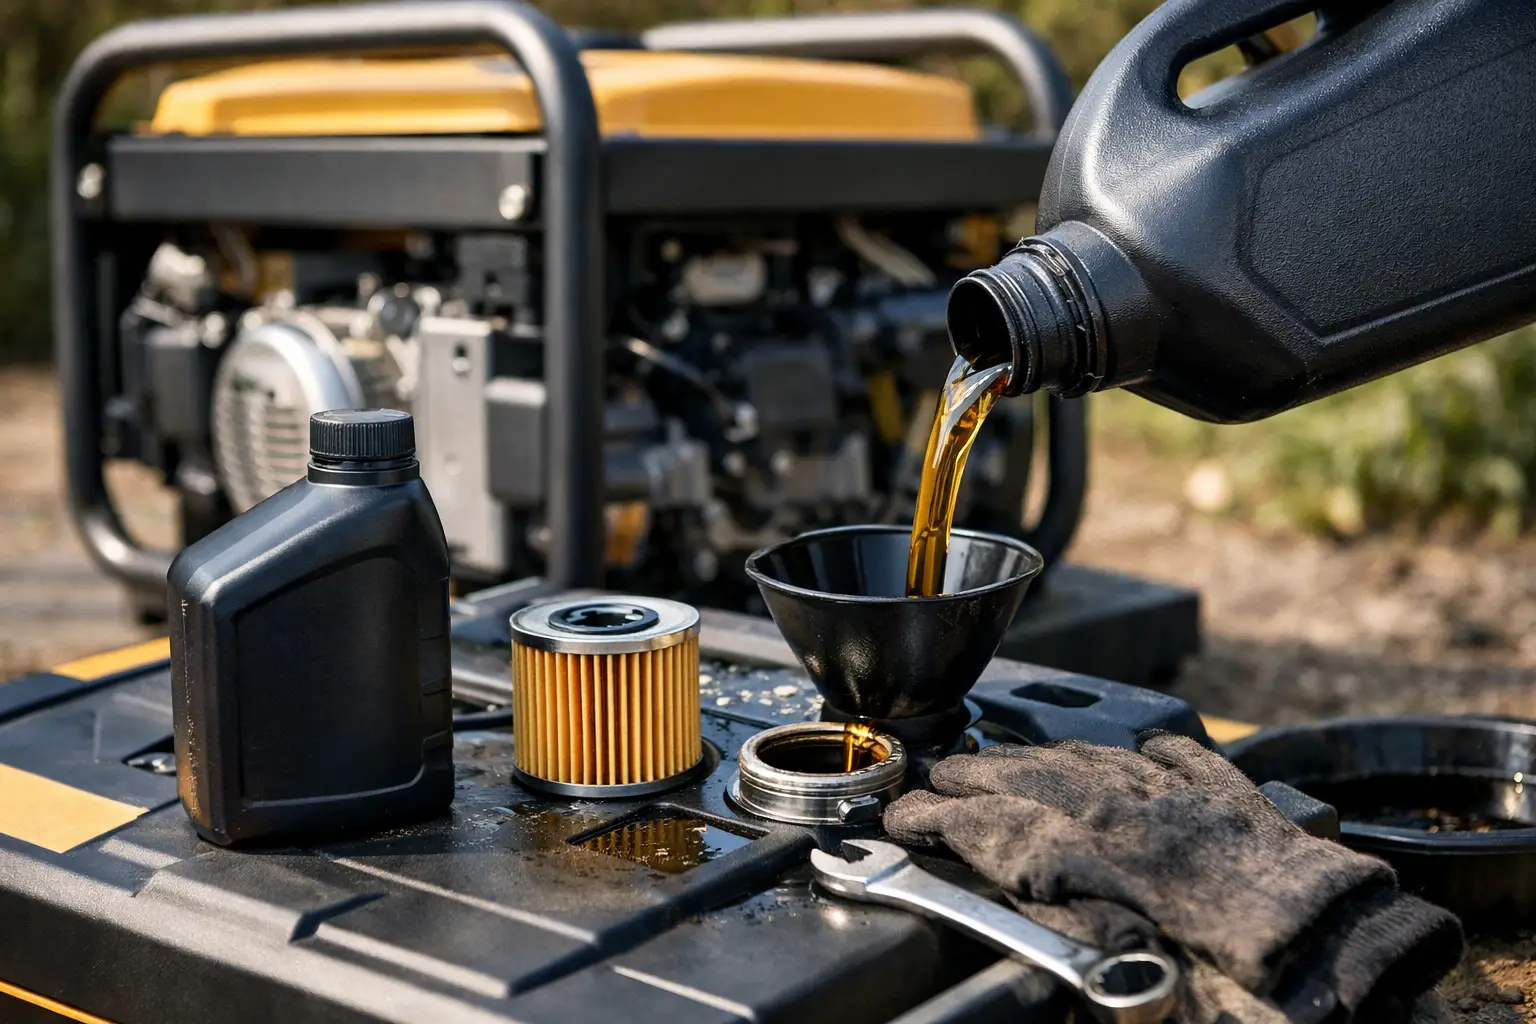
Position a low-profile drain pan beneath the drain plug or drain hose. On many inverter generators, access requires removing a small service cover. Remove the dipstick or oil-fill cap to help the crankcase vent, drain the old oil completely, reinstall the plug with its washer if equipped, and refill slowly.
Do not guess at capacity. Add most of the specified amount, pause, then verify the level with the dipstick. Start the engine briefly, check for leaks, shut it down, and recheck after the oil settles. Record the date, hours, oil type, and amount used on a maintenance tag or in your phone.
Take used oil to an approved recycling location. Never pour it into a drain, onto soil, or into household trash. A sealed container and a basic funnel make this simple and prevent the same mess from ending up in your truck, RV storage bay, or garage.
Maintenance Tasks to Pair With an Oil Change
Oil service is the right time to inspect the generator as a system. Check the air filter because a restricted filter can affect the air-fuel mixture and engine performance. Inspect the spark plug condition, fuel lines, recoil starter, battery terminals on electric-start models, and rubber vibration mounts.
Also look at the equipment around the generator. A worn generator cord, heat-damaged adapter, or loose inlet box connection can create a power problem that gets mistaken for an engine issue. Confirm that extension cords are sized for the load and length, and that any home connection uses proper
transfer equipment. Changing oil will not make an unsafe connection safe.
For emergency backup equipment, do a controlled test run after maintenance. Apply a reasonable load within the generator’s rated capacity, listen for surging, and verify that the generator supplies stable power to the devices it is meant to support. This is particularly useful before storm season, when replacement oil, cords, and parts may be harder to find locally.
When to Change Generator Oil Early
Consider changing the oil ahead of schedule after a prolonged outage, extended operation in dusty conditions, repeated high-load use, or an overheating event. Do the same if water intrusion, fuel contamination, or unusual debris is suspected. The cost of fresh oil is minor compared with accelerated engine wear or discovering a maintenance problem when a refrigerator, sump pump, or well pump needs power.
A dependable maintenance routine is straightforward: track runtime, check the oil level before demanding use, use the oil specified for the engine, and let the owner’s manual set the final service interval. Keep a record of each oil change so you know when the next one is due. That is far more reliable than trying to remember the last time you serviced the generator.