As an Amazon Associate I earn from qualifying purchases.
A generator sitting in the driveway cannot safely power your home through an extension cord plugged into a wall outlet. That dangerous shortcut can backfeed utility lines, damage equipment, and put lineworkers at risk. Learning how to connect generator inlet equipment properly means building a controlled path: generator, generator cord, power inlet box, transfer equipment, and selected household circuits. For most homeowners, the inlet box is the weather-resistant connection point mounted outside the home. It lets you plug in a portable generator without running cords through a window or leaving an exterior door open. The inlet itself is only one part of the system, though. Safe operation depends on matching it to the generator, cord, breaker panel equipment, and the installation rules in your area.Start With the Right Generator Inlet Setup
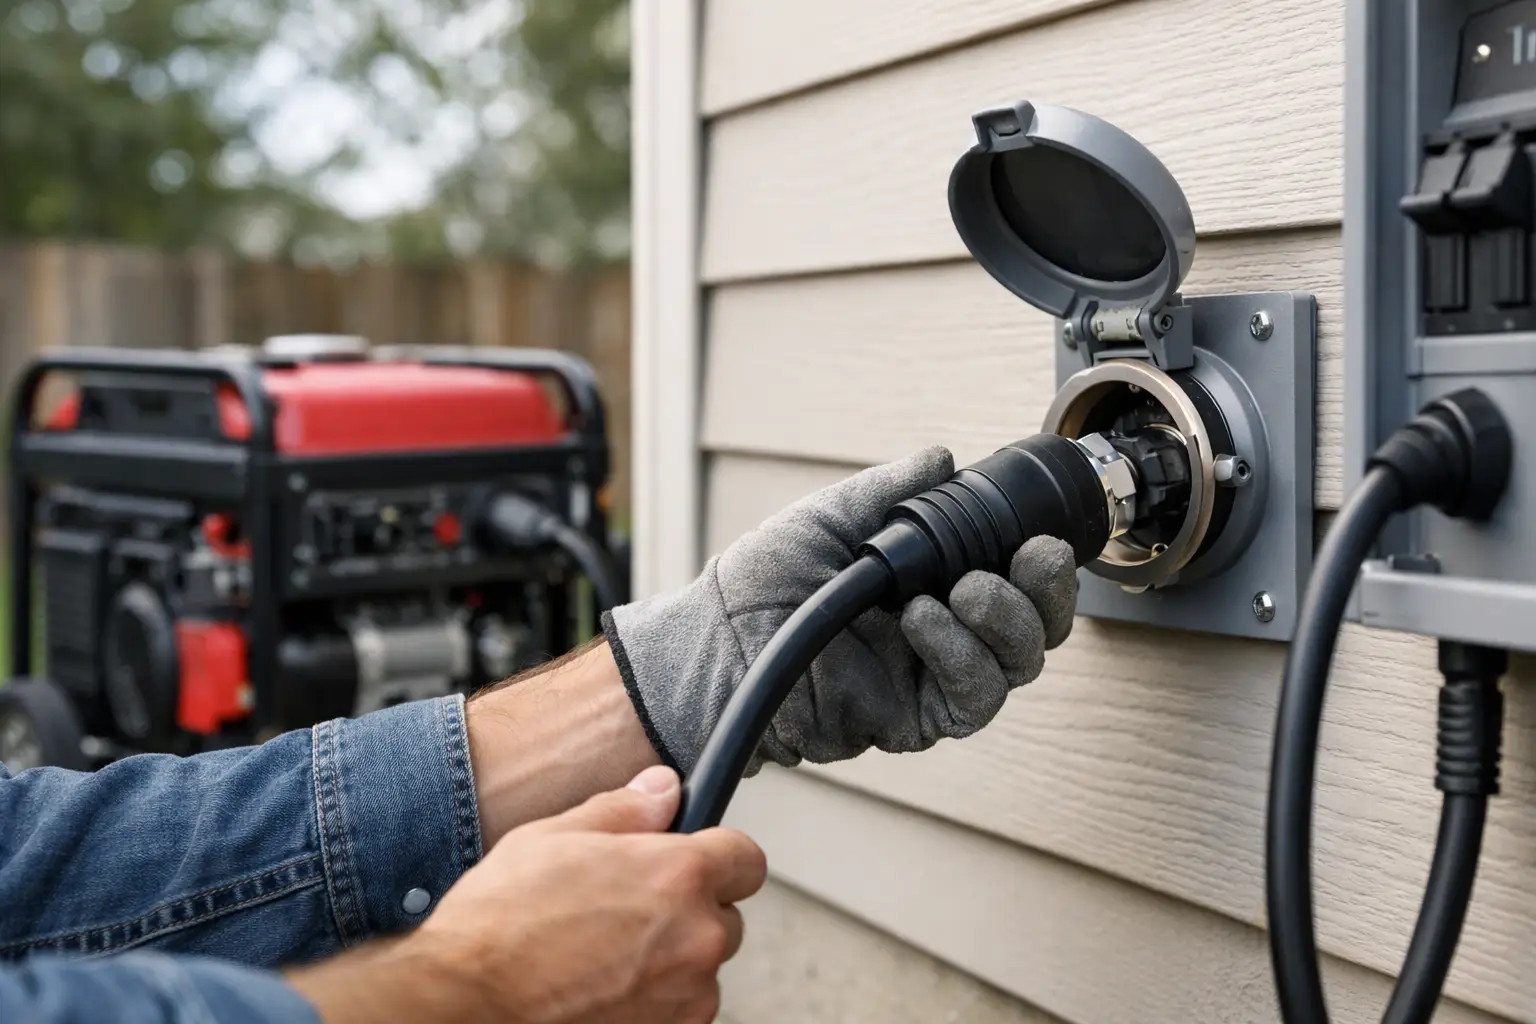
A generator inlet is a male receptacle, usually installed outdoors near the main electrical panel. During an outage, you connect a generator cord from the generator’s outlet to this inlet. From there, properly installed transfer equipment directs generator power to chosen circuits while isolating the home from the utility grid. Do not confuse an inlet box with a standard outdoor receptacle. A receptacle delivers power outward. An inlet receives power from the generator. Because both ends of a generator cord can otherwise become energized, generator inlet cords use specific male-to-female locking connections designed for this purpose. Never use a homemade double-male “suicide cord.” It has no safe use in residential backup power. Your generator output determines the inlet and transfer switch rating you need. A smaller inverter generator may use a 120-volt, 30-amp connection, commonly an L5-30 configuration. Many portable home-backup generators use 120/240-volt, 30-amp L14-30 connections. Larger portable units may support 50-amp connections, often using a 14-50 or SS2-50 style inlet and cord. The labels matter. A 30-amp inlet does not become a 50-amp inlet because the generator has a larger outlet, and a 120-volt generator cannot supply 240-volt loads simply by using an adapter. Check the generator owner’s manual, its outlet panel, and the transfer equipment specifications before buying components.Choose an inlet for the job you actually need
For a typical portable generator supplying a refrigerator, furnace blower, sump pump, lights, internet equipment, and a few kitchen appliances, a 30-amp, 120/240-volt inlet is often a practical fit. It can support up to 7,200 running watts at 240 volts, although your generator’s rated output remains the real limit. A 50-amp setup offers more capacity, up to 12,000 watts at 240 volts, but it also requires properly sized wiring, compatible transfer equipment, and a generator capable of delivering that output. It is not automatically the better purchase. If your generator produces 6,500 running watts, a 50-amp inlet will not create more available power. Look for a listed, weatherproof inlet box with a spring-loaded cover and a clear amperage and voltage rating. Brands such as Reliance Controls and Generac are common in residential backup installations, but compatibility and listing matter more than matching the generator brand. Use a generator cord with locking connectors where required, a length that reaches the planned generator location, and a wire gauge rated for its amperage.How to Connect a Generator Inlet Safely
The physical connection during an outage is straightforward once the permanent equipment has been professionally installed and tested. Installation inside the electrical system is different. Running wire from an inlet to a transfer switch or interlock involves the service panel, breaker sizing, grounding, and local electrical code. For most homeowners, this is work for a licensed electrician. Before an outage, have the electrician install either a manual transfer switch, a panel interlock kit designed specifically for your breaker panel, or an automatic transfer switch if you are using a standby generator. A transfer switch supplies a designated set of circuits. An approved panel interlock lets you select the generator breaker while mechanically preventing the utility main breaker and generator breaker from being on at the same time. When utility power fails, follow this operating sequence:- Move the generator outside to a dry, open location, at least 20 feet from doors, windows, vents, and attached garages. Carbon monoxide can enter a home even when the generator is not directly beside an opening.
- Turn off or unplug large loads you do not need. This reduces the chance of overloading the generator when power is first applied.
- At the panel, place the transfer switch in generator mode or use the approved interlock procedure to turn off the utility main before turning on the generator breaker. Follow the labels installed by your electrician.
- Start the generator with its output breaker off, if the manufacturer directs you to do so. Let it stabilize for a minute or two.
- Connect the generator cord to the inlet and generator outlet. Locking plugs should twist fully into place. Keep the cord out of standing water, away from hot exhaust parts, and protected from vehicle traffic.
- Turn on the generator output breaker, then energize selected household circuits one at a time. Start with essential loads and watch the generator’s wattage meter, overload light, or circuit breaker.