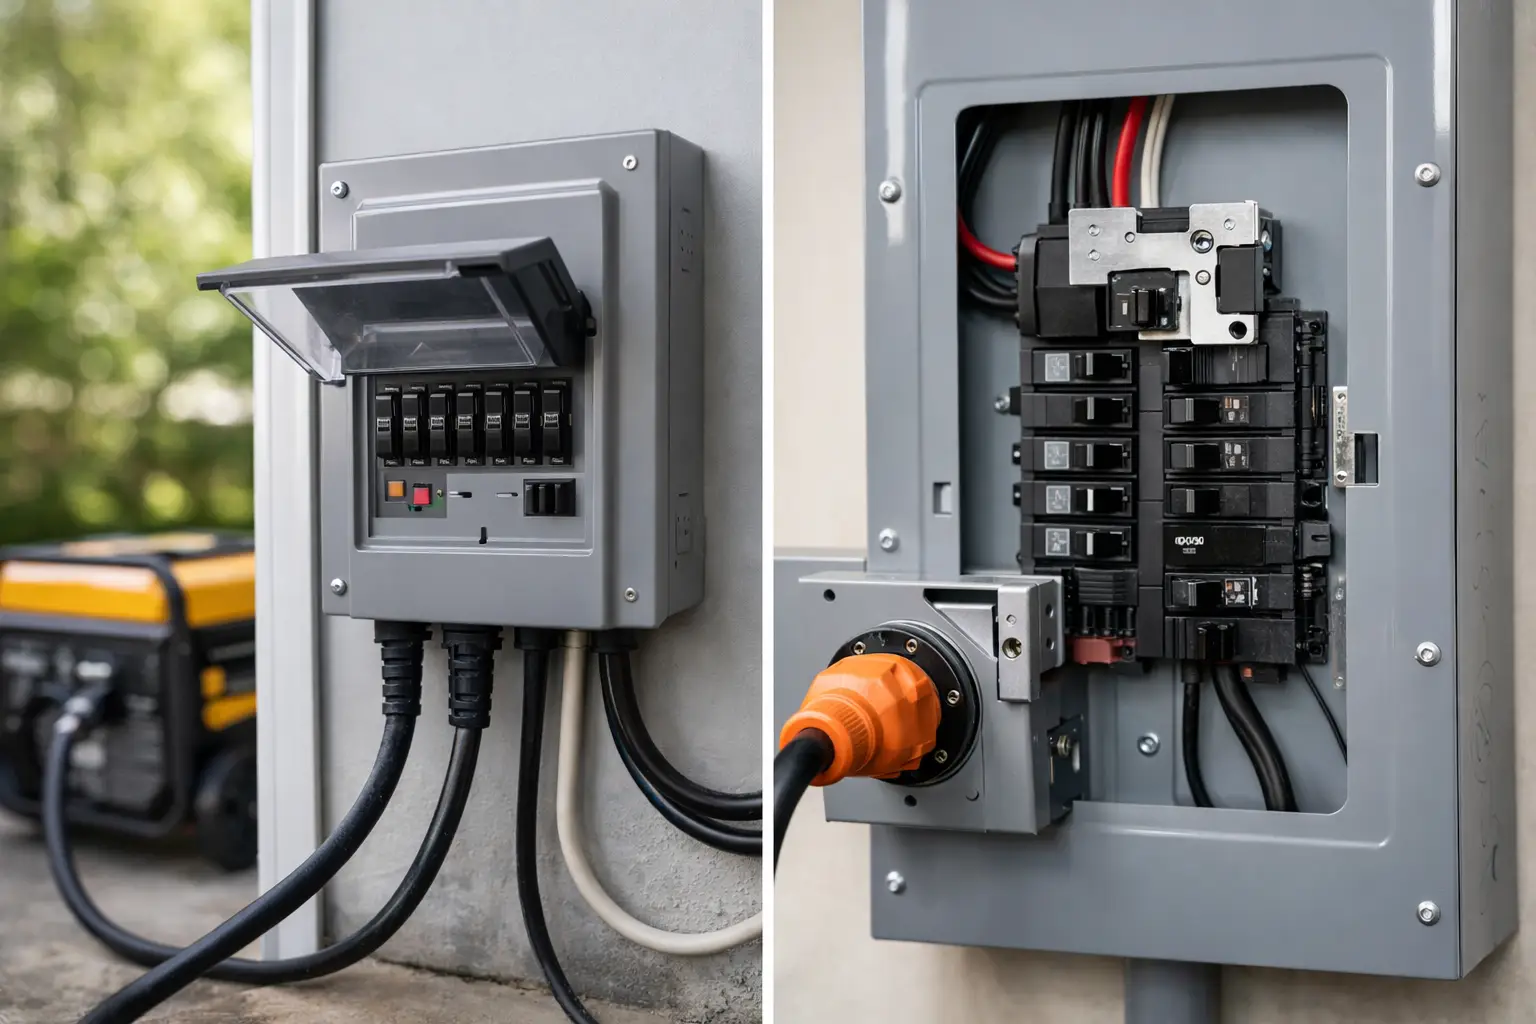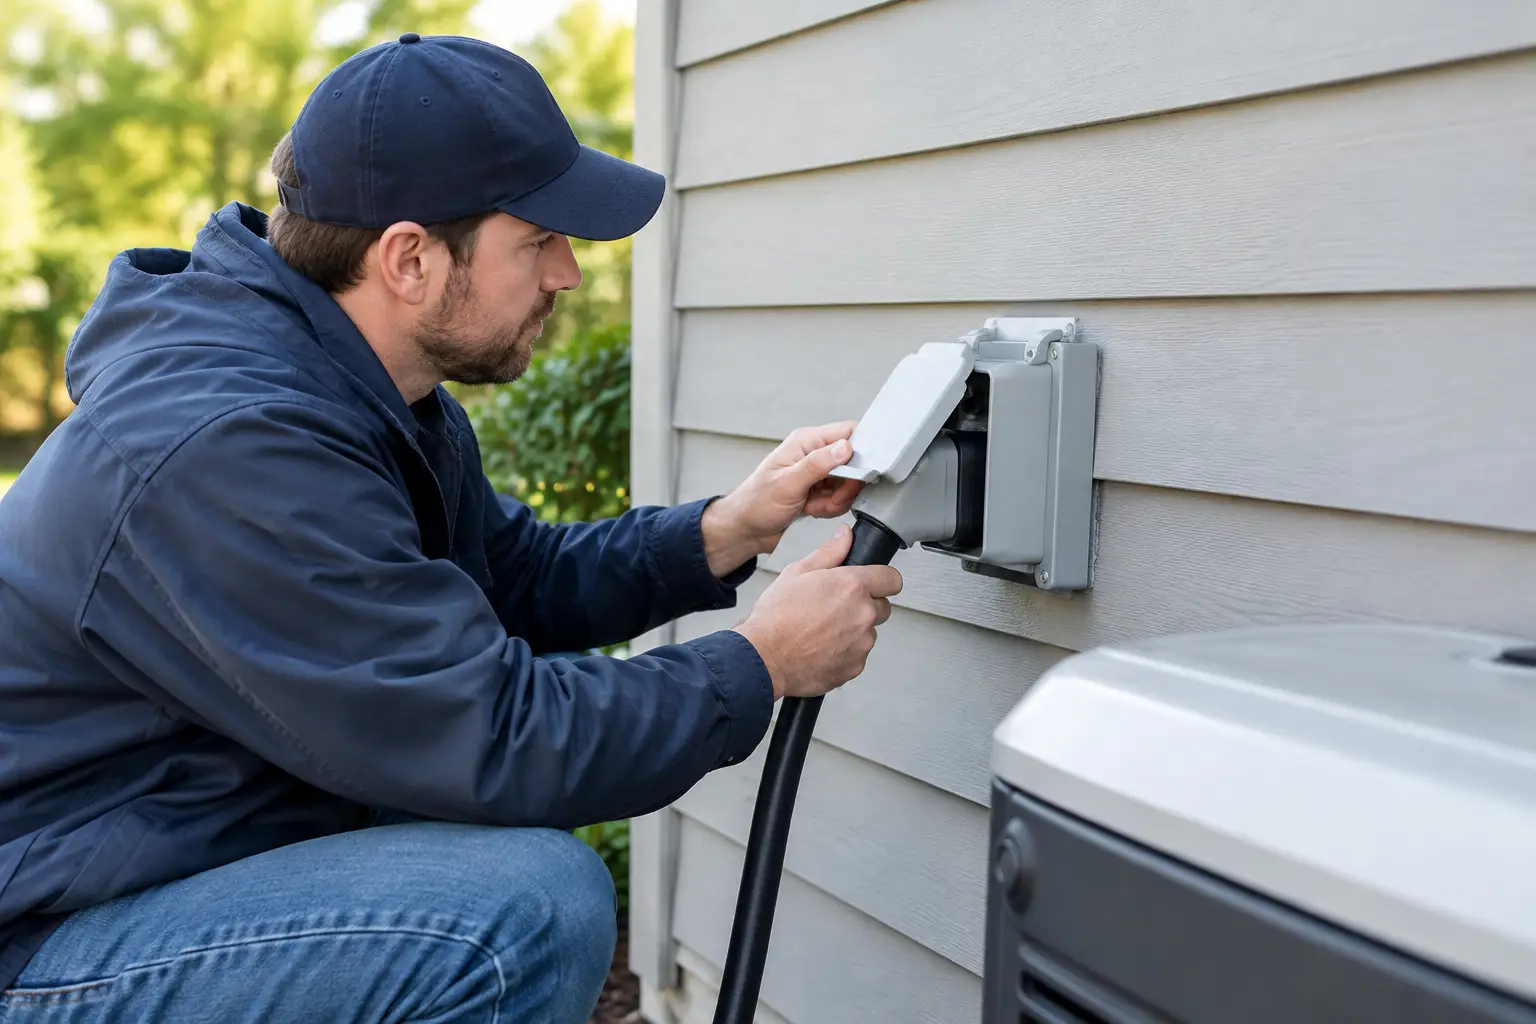
A portable generator becomes much more useful during a power outage when you can connect it to your home without running extension cords through doors, windows, or other openings. Installing an outdoor generator inlet box creates a dedicated connection between the generator and your home’s electrical system, but the inlet box is only one part of a safe backup-power setup.
A properly designed installation also requires a correctly sized generator cord, suitable wiring, and approved transfer equipment such as a manual transfer switch or a listed panel interlock. The transfer equipment is what prevents generator power from feeding back into the utility lines.
If you’re planning a generator inlet box installation in 2026, the first step is not drilling a hole in the wall. Start by identifying your generator’s output, the circuits you want to run, the type of inlet it requires, and the transfer method that is compatible with your electrical panel.
What Is a Generator Inlet Box?
A generator inlet box, also called a power inlet box, is a weather-resistant connection point installed on the exterior of a house or other building.
Instead of plugging multiple extension cords into the generator and routing them through a window or door, you connect a properly rated generator cord from the generator to the outdoor inlet. The inlet is permanently wired to a manual transfer switch, generator panel, or a listed interlock arrangement at the home’s electrical panel.
The basic power path looks like this:
Portable generator → generator cord → outdoor inlet box → transfer equipment → selected household circuits
The inlet box itself does not determine which circuits receive power, and it does not prevent utility backfeed by itself. Its purpose is to provide a protected connection point between the portable generator and the home’s transfer equipment.
Manufacturer installation instructions for outdoor power inlet boxes specifically state that the inlet must be used with appropriate transfer equipment when supplying power to a building.
This type of setup can be useful for powering essential loads such as:
- Refrigerator and freezer
- Sump pump
- Well pump
- Furnace blower
- Internet equipment
- Selected lights
- Garage door opener
- Essential receptacles
- Some 120/240-volt equipment when the generator and transfer system support it
The exact combination depends on the generator’s continuous output and the electrical requirements of each appliance.
What You Need for a Generator Inlet Installation
Before purchasing anything, identify the complete system rather than choosing an inlet based only on the generator’s advertised wattage.
A typical installation may include:
- Portable generator
- Outdoor-rated generator inlet box
- Generator cord with matching connectors
- Manual transfer switch or listed panel-specific interlock
- Appropriately rated circuit breaker or transfer equipment
- Properly sized conductors
- Approved conduit, fittings, and weatherproof connections where required
- Required labels and other components required by the applicable electrical code
The inlet, cord, wiring, breaker, and transfer equipment must work together as one system.
→ Compare outdoor generator inlet boxes with weather-resistant enclosures and connector ratings that match your generator and transfer equipment.
For example, installing a 50-amp inlet does not turn a 30-amp generator into a 50-amp generator. The generator’s actual output and the ratings of the other components still determine how much power is available.
Choose the Generator Inlet Based on the Generator
One of the easiest mistakes to make is choosing an inlet box simply because its amperage number appears to match the generator’s advertised wattage.
Instead, check the generator’s actual receptacle.
A common configuration for mid-size portable generators is a 30-amp NEMA L14-30 outlet, which provides 120/240-volt power when the generator is designed to supply both voltages.
A 30-amp, 120/240-volt connection has a theoretical maximum of:
30 A × 240 V = 7,200 watts
However, that number does not mean every 30-amp generator can deliver 7,200 watts continuously. The generator’s rated running output and the capacity of the particular outlet are what matter. For example, Generac explained in a 2026 product response that a portable generator connected through a 120/240-volt 30-amp outlet is limited by that outlet’s capacity, even when the generator’s overall advertised output may be higher.
Common Generator Inlet Configurations
| Generator output connection | Typical inlet configuration | Voltage | Common use | | ————————— | ———————————————– | ——-: | ———————————— | | 15A 120V | 5-15 style | 120V | Small generators | | 20A 120V | L5-20 | 120V | Smaller portable generators | | 30A 120V | L5-30 | 120V | 120V-only backup systems | | 30A 120/240V | L14-30 | 120/240V | Common portable-generator connection | | 50A 120/240V | CS6375, 14-50 or other compatible configuration | 120/240V | Larger portable generators |
These are examples, not universal requirements. Always match the inlet to the exact generator receptacle and the transfer equipment.
Reliance’s current power inlet documentation, for example, lists different 20-, 30-, and 50-amp configurations with different NEMA connector types and conductor requirements.
What About a 50-Amp Inlet?
A 50-amp inlet can make sense for a larger portable generator, but it should only be used when the generator, cord, wiring, breaker, and transfer equipment are all designed for that capacity.
A 50-amp inlet does not increase the generator’s output.
If your generator has a 30-amp L14-30 outlet, connecting it to a 50-amp inlet does not magically provide 50 amps. The system remains limited by the generator connection and the other properly rated components.
Choose the Right Generator Cord
Once you know the generator’s outlet configuration, choose a cord with the correct male generator plug and female inlet connector.
A properly made cord is important because it must be rated for the voltage, amperage, configuration, and environment in which it will be used.
If your generator uses an L14-30 connection, for example, you need a compatible four-conductor generator cord. You can learn more about the different options in our guide to 30-amp generator cords.
For installations where the generator needs to remain farther from the house, a 50-foot 30-amp generator cord may be useful, provided the cord is appropriately rated and the generator manufacturer’s clearance requirements can still be followed.
→ Compare generator inlet cords by amperage, voltage, NEMA connector type, length, and outdoor-use rating before choosing one for your setup.
Never use a homemade cord with male plugs on both ends.
These are sometimes called suicide cords or widow-maker cords. They can leave exposed energized prongs and create a severe shock and fire hazard.
Plan the Generator Location Before Installing the Inlet
The generator’s location is just as important as the electrical connection.
A portable generator must operate outdoors in a location where its exhaust cannot enter the home. Keep it away from doors, windows, vents, crawlspace openings, and other openings that could allow carbon monoxide into the building.
Do not place a portable generator in a garage, basement, enclosed porch, shed, or other enclosed or partially enclosed area, even when the garage door or another opening is open.
Follow the clearance distances and placement instructions in the generator’s owner’s manual. Carbon monoxide can accumulate quickly and cannot be reliably detected by smell.
The outdoor inlet box and the generator do not necessarily have to be directly next to each other. In fact, the inlet should be positioned so that the generator can remain at a safe operating distance from the home while the generator cord can still reach it without excessive strain.
How Far Should the Generator Inlet Be From the House?
There is no single inlet-box distance that works for every home.
The important distinction is that the inlet box is an electrical connection point, while the generator is an engine-powered source of exhaust.
Install the inlet in a practical exterior location that allows the generator to be positioned safely according to its manufacturer’s instructions.
Keep the generator cord away from:
- Standing water
- Vehicle traffic
- Sharp edges
- Hot surfaces
- Areas where it can be crushed
- Walkways where people could trip over it
Avoid placing the inlet directly underneath roof runoff or in an area where snow, ice, sprinklers, or repeated impact could damage it.
Outdoor-rated does not mean indestructible.
Calculate Your Essential Loads
Before selecting a 30-amp or 50-amp system, make a list of the appliances and circuits you actually want to operate.
Separate running watts from starting watts.
Motors and compressors can require substantially more power when they start than they consume after reaching normal operating speed.
For example, a refrigerator may use relatively modest power while running but draw additional starting power when its compressor starts. A sump pump, well pump, furnace blower, or other motor-driven load can create a similar surge.
Also consider whether the appliance requires 120 volts or 240 volts.
A 120-volt generator cannot power a conventional 240-volt well pump, central air-conditioning compressor, electric range, or other 240-volt load simply because the generator has enough advertised wattage.
Your generator and transfer equipment must actually provide the required voltage.
Typical Emergency Loads
| Load | Typical priority | Important consideration | | ——————— | —————- | ———————————————- | | Refrigerator | High | Starting surge | | Freezer | High | Starting surge | | Sump pump | High | Motor starting current | | Well pump | High | May require 240V | | Furnace blower | High | Check voltage and startup load | | Internet equipment | Medium | Low power demand | | Lighting | Medium | Usually manageable | | Microwave | Medium | High running wattage | | Electric water heater | Low | Usually too large for many portable generators | | Electric range | Low | High power demand | | Central AC | Depends | Often requires substantial starting power |
The goal is not to power every appliance at once.
The goal is to provide enough power for the loads that matter most during an outage.
Transfer Switch vs. Panel Interlock
This is one of the most important decisions in the installation.
A portable generator should not simply be connected to the home’s electrical panel without properly designed transfer equipment.
OSHA specifically warns against connecting a generator directly to a building’s electrical system without a properly installed transfer switch because generator power can travel back onto utility lines and create an electrocution hazard for utility workers and others.
Two common approaches are a manual transfer switch and a listed panel interlock system.
Manual Transfer Switch
A manual transfer switch is designed to move selected circuits from utility power to generator power.
This approach can be useful when you want a defined group of critical circuits and straightforward load management.
Some transfer switches are designed to handle multiple household circuits and use an outdoor power inlet box as the generator connection point.
Panel Interlock
A listed mechanical interlock can allow a compatible main electrical panel to use a generator breaker while mechanically preventing the utility main and generator source from being on simultaneously.
The important word is compatible.
An interlock should be listed and specifically designed for the electrical panel model. A generic piece of metal or improvised mechanism is not an acceptable substitute.
If your panel cannot accept a listed interlock, another transfer method may be necessary.
How to Install an Outdoor Generator Inlet Safely
The exterior box may look simple, but the installation involves electrical wiring and, in many homes, work inside the service panel.
For that reason, the panel-side installation should be performed by a qualified electrician and must comply with the electrical code adopted by your state and local jurisdiction.
Manufacturer instructions for power inlet boxes likewise call for qualified electrical installation and compliance with applicable codes.
The following sequence explains how the installation should be planned rather than providing a substitute for the manufacturer’s wiring instructions or a licensed electrician.
1. Identify the Generator Outlet
Start with the generator.
Record:
- Continuous running watts
- Starting watts
- Outlet amperage
- Outlet voltage
- NEMA configuration
- Whether the outlet provides 120 volts, 240 volts, or both
This determines the generator cord and inlet configuration.
2. Select the Transfer Equipment
Choose the transfer method before wiring the inlet.
Depending on the electrical system, this may be:
- A manual transfer switch
- A listed, panel-specific interlock
- Another approved transfer arrangement designed for the generator system
Do not assume that simply turning off the home’s main breaker makes an improvised generator connection safe.
The purpose of approved transfer equipment is to provide a controlled method of switching between utility and generator sources.
3. Choose the Inlet Location
Select an exterior wall where the inlet can be securely mounted and where the generator cord can reach without creating a trip hazard.
Consider:
- Distance to the electrical panel
- Generator operating location
- Weather exposure
- Accessibility during an outage
- Conduit routing
- Wall construction
- Doors, windows, vents, and air intakes
The inlet should be accessible but protected from unnecessary physical damage.
4. Determine the Wiring Requirements
The conductors must be properly sized for the circuit and installed using an approved wiring method for the location.
Do not select wire size simply because a chart on the internet says a particular gauge is commonly used for 30 or 50 amps.
The actual installation can depend on conductor material, insulation temperature rating, terminal ratings, installation method, ambient conditions, conduit fill, and applicable local requirements.
The inlet manufacturer may also specify conductor ranges for a particular model. Reliance’s installation instructions, for example, provide different conductor ranges for its various inlet models.
5. Mount the Outdoor Inlet Box
The inlet box should be securely mounted to the exterior surface using appropriate fasteners and installed according to its instructions.
The conduit or cable entry should use the correct fittings for the enclosure and location.
Any wall penetration should be properly sealed and protected against moisture and pests.
Do not drill additional holes into an enclosure unless the manufacturer allows it and the installation can still meet the applicable requirements.
6. Connect the Inlet to the Transfer Equipment
The wiring between the inlet and the transfer equipment carries generator power into the building’s electrical system.
The conductors must be terminated according to the inlet manufacturer’s wiring diagram and the transfer equipment instructions.
A typical 120/240-volt inlet may have two hot conductors, a neutral, and a grounding conductor, but the exact configuration must be verified for the specific equipment.
Do not guess terminal identification from wire color alone.
7. Verify Neutral and Grounding Configuration
This is an area where installations can become complicated.
Portable generators can have different neutral-bonding arrangements, and transfer equipment can be designed to switch or not switch the neutral depending on the system.
The correct configuration depends on the generator, transfer equipment, panel, and applicable electrical requirements.
Do not remove a neutral bond or add one simply because a generic diagram on the internet shows it.
The electrician should verify the complete system configuration using the generator and transfer-equipment documentation.
8. Install and Verify the Breaker or Transfer Components
If the system uses a panel interlock, the generator breaker and interlock must be compatible with the specific panel.
If it uses a manual transfer switch, the switch must be appropriately rated for the circuits and generator connection.
The system should prevent the utility source and generator source from being connected in a way that could backfeed the utility.
9. Label the System
Clearly label:
- Generator inlet
- Generator breaker
- Transfer switch
- Generator-powered circuits
- Operating positions where appropriate
Good labeling becomes especially valuable during a nighttime outage or emergency when you may not have time to remember which circuit controls what.
10. Test the Installation
Do not wait for a hurricane, winter storm, or extended outage to discover that your refrigerator, sump pump, or well pump cannot start on generator power.
Test the system under controlled conditions.
Verify that:
- The generator starts normally.
- The generator cord reaches the inlet.
- The inlet connection is secure.
- The transfer equipment operates correctly.
- The intended circuits receive power.
- High-starting-load appliances do not overload the generator.
- The generator remains outside in its intended operating location.
- The system can be returned to utility power correctly.
A short practice run can reveal problems long before you need the generator in an emergency.
Common Generator Inlet Installation Mistakes
Even when the basic concept is correct, several mistakes can undermine the installation.
Choosing the Inlet by Wattage Alone
A 7,500-watt generator does not automatically require a 50-amp inlet.
Check the actual generator outlet.
A generator with a 30-amp L14-30 outlet is still limited by that connection when it is used to supply the house through that outlet.
Installing a 50-Amp Inlet on a 30-Amp System
A larger inlet does not create additional generator capacity.
The inlet, wiring, breaker, transfer equipment, cord, and generator must all be compatible.
Using the Wrong NEMA Configuration
Two plugs can look similar while having completely different wiring configurations.
Always match the connector by its exact NEMA designation and electrical rating.
Using an Improvised Backfeed Connection
Never use a homemade double-male cord to energize a household receptacle or panel.
This can expose energized prongs and bypass the protective design of a proper inlet and transfer system.
Assuming the Main Breaker Is Enough
Simply switching off the main breaker is not an acceptable substitute for properly designed transfer equipment.
The system must be designed to prevent the generator and utility sources from being connected together.
Ignoring Starting Watts
A generator can appear large enough based on its running wattage and still trip its protection when a pump, compressor, or other motor starts.
Plan around starting requirements, not just steady-state consumption.
Running the Generator Too Close to the House
The inlet box may be mounted on the house, but the engine-powered generator needs to be positioned according to its manufacturer’s outdoor clearance and exhaust requirements.
Keep carbon monoxide safety separate from electrical convenience.
Forgetting Fuel Planning
Electrical planning is only half of emergency preparedness.
If you rely on gasoline, maintain an appropriate fuel supply and follow safe storage requirements.
For propane-capable generators, check the cylinder capacity, regulator and hose condition, operating temperature limitations, and expected runtime.
If you are considering larger backup units, our guide to 12,000-watt inverter and dual-fuel generators can help you compare this class of generator before selecting an inlet system.
→ Compare portable backup generators by running watts, starting watts, fuel type, and outlet configuration to make sure the unit fits your home’s essential-load plan.
Can You Install a Generator Inlet Without a Transfer Switch?
Not when the inlet is being used to connect a portable generator to a home’s electrical system in a way that could energize household circuits.
The inlet box is simply the connection point. The system needs approved transfer equipment that prevents an unsafe connection between generator power and utility power.
Depending on the panel and installation, that may be a manual transfer switch or a listed panel interlock.
OSHA’s generator safety guidance specifically warns against directly connecting a generator to a building electrical system without a properly installed transfer switch.
Can a Generator Inlet Power the Whole House?
It depends on the generator, transfer equipment, electrical panel, and the home’s total load.
A portable generator connected through a 30-amp outlet cannot provide unlimited power simply because the inlet is connected to the main panel.
With a properly designed interlock arrangement, some homeowners can use the main panel to select which breakers operate during an outage. However, the generator still has a finite output.
Large electric loads such as central air conditioning, electric water heaters, ovens, dryers, and electric ranges can consume a substantial portion of a portable generator’s available capacity.
The practical approach is to identify essential circuits first and manage the load.
Is a 30-Amp or 50-Amp Inlet Better?
Neither is automatically better.
The correct choice depends on the generator and the complete electrical system.
A 30-amp inlet is common for portable generators equipped with an L14-30 120/240-volt outlet. A 50-amp inlet can be appropriate for larger generators that actually provide a compatible 50-amp output.
The inlet should be sized as part of the complete system rather than selected as an isolated upgrade.
Final Thoughts
Installing an outdoor generator inlet box is one of the cleanest ways to connect a portable generator to a properly designed home backup-power system.
The important part is not the inlet box alone. The generator, cord, inlet, wiring, breaker, transfer equipment, grounding and neutral configuration, and household loads all have to work together.
Start by identifying the generator’s actual outlet and the loads you need during an outage. Then choose a compatible inlet and transfer method, verify the electrical requirements, and have the panel-side work completed by a qualified electrician where required.
A properly installed system eliminates the need to improvise when the power goes out. Instead of running extension cords through doors and windows, you can connect the generator at the designated inlet, transfer the appropriate circuits, and manage the available power safely.
The time to discover whether the system works is before the next outage—not during it.