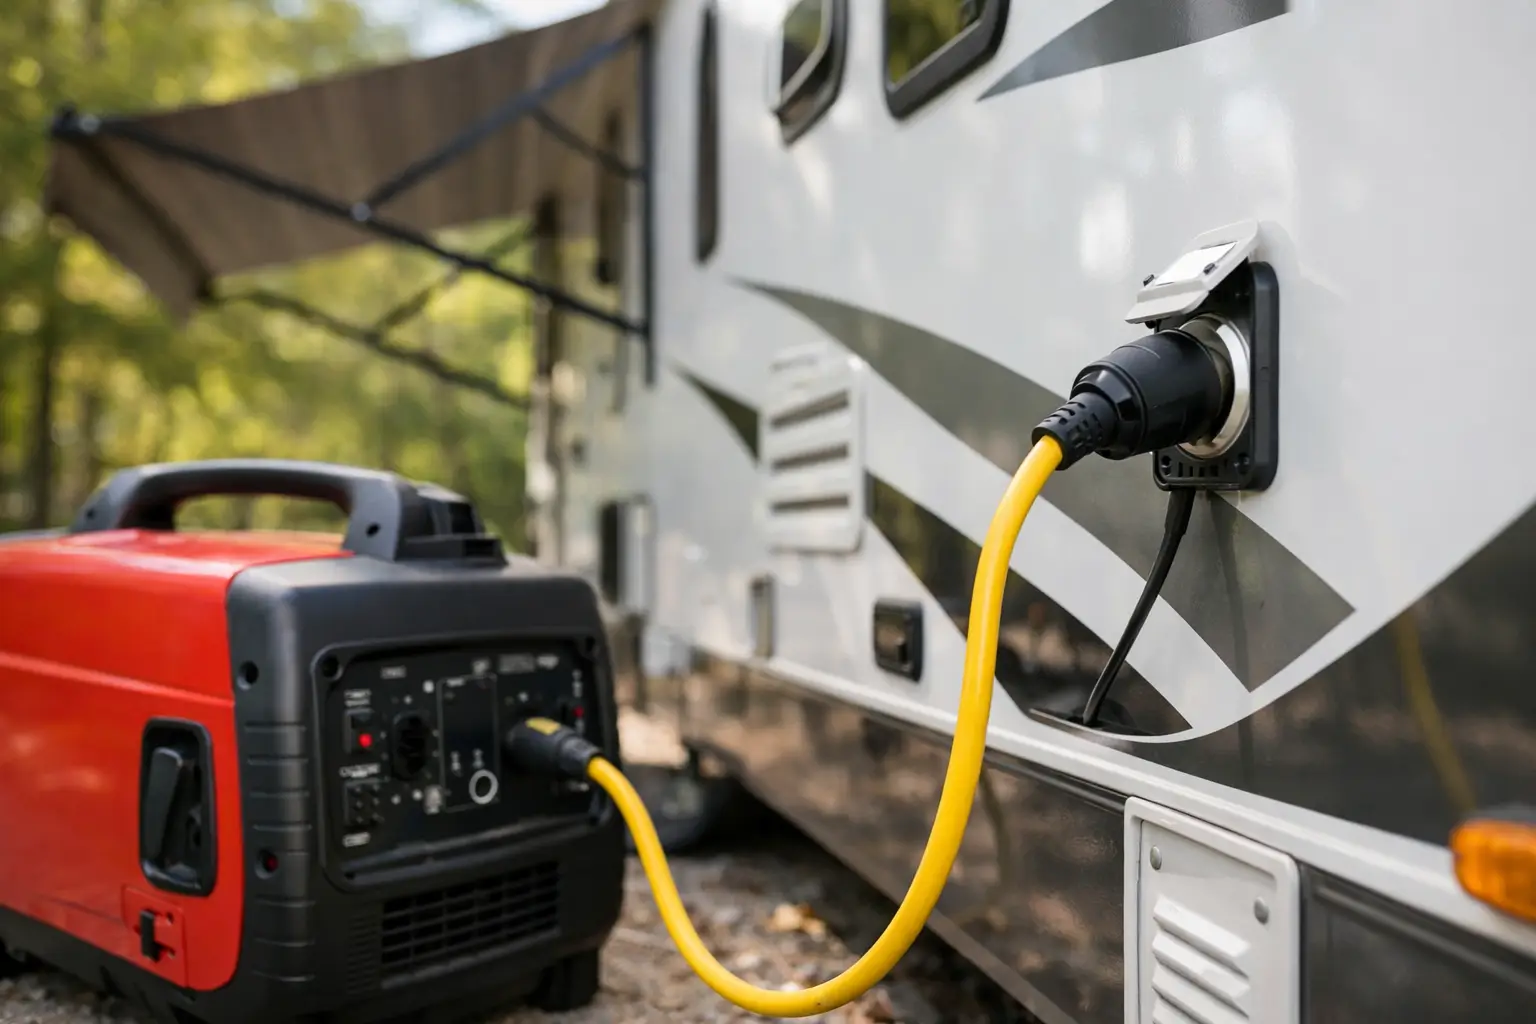
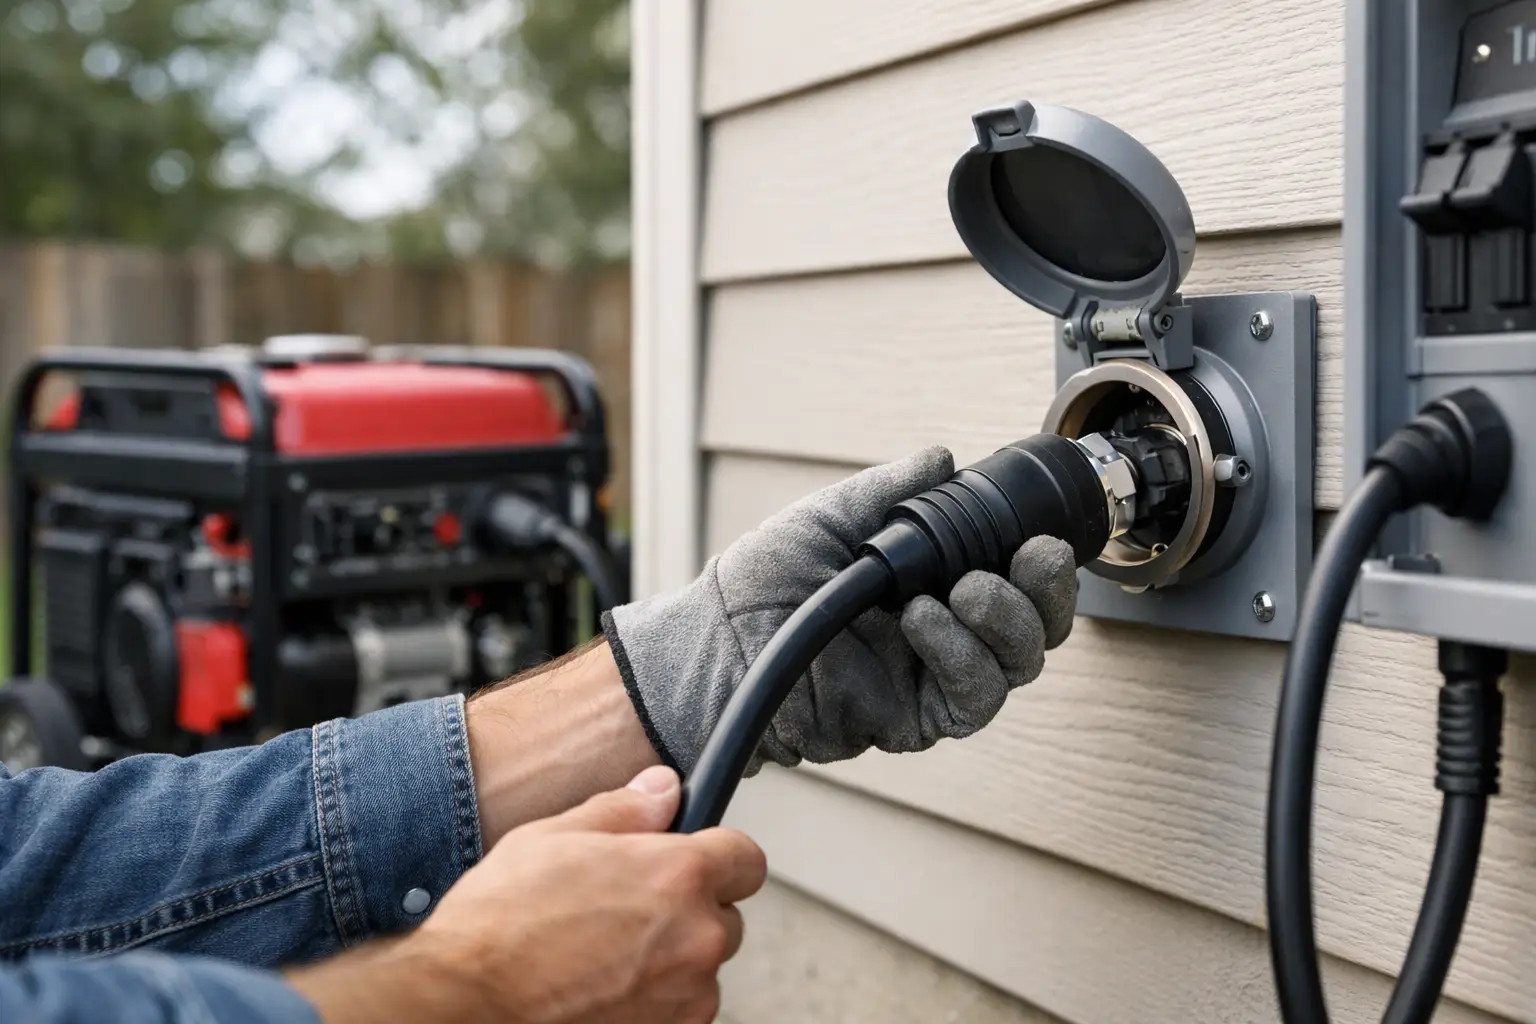
A generator can keep your RV comfortable when shore power is unavailable, but the hookup is only as good as the cord, outlet, and power plan behind it. To
connect generator to RV safely, you need to match the generator’s receptacle to your RV’s shore-power inlet, protect the connection from weather and heat, and avoid asking a small generator to run a large RV load all at once.
The good news is that most travel trailers, fifth wheels, and motorhomes can run from a properly sized portable generator without permanent installation. The details matter, though. A mismatched adapter may physically connect while limiting available power, and an overloaded cord can become a serious fire hazard.
Start With Your RV’s Shore-Power Rating
Before choosing a generator or cord, look at the plug on your RV’s shore-power cord. Most smaller RVs use 30-amp service, identified by a three-prong TT-30 plug. Larger fifth wheels and motorhomes commonly use 50-amp service, identified by a four-prong 14-50 plug.
A 30-amp RV service supplies up to 3,600 watts at 120 volts. That does not mean every 30-amp RV needs a 3,600-watt generator, but it is a useful ceiling. A quality 3,000- to 3,600-watt inverter generator is often a practical match if you want to run one air conditioner along with basic appliances.
A 50-amp RV has two 120-volt legs and can theoretically receive up to 12,000 watts. In real use, many 50-amp RV owners use a 4,500- to 7,000-watt generator for limited operation or parallel inverter generators for quieter campground use. Running both air conditioners, an electric water heater, microwave, and other high-draw appliances may require substantially more capacity.
Do not confuse a 50-amp RV plug with a 240-volt appliance plug. Although the 14-50 connection can provide two 120-volt legs, RV distribution panels typically use those legs to divide 120-volt circuits. The generator, cord, and adapter must still be specifically suitable for RV use.
Choose the Right Generator Outlet and Cord
The cleanest setup is a generator with an RV-ready outlet that matches your coach. For a 30-amp RV, look for a TT-30R receptacle. For a 50-amp RV, a generator with a 14-50R outlet is the most direct option. Many inverter generators also offer a 30-amp locking outlet, often labeled L5-30R, which requires a purpose-built RV adapter.
Use a heavy-duty outdoor-rated RV power cord or generator adapter made with the correct wire gauge. For 30-amp service, a 10-gauge cord is the standard choice. A 50-amp cord should use heavier conductors designed for that rating. Shorter is generally better because long cords create voltage drop, especially when an air conditioner starts.
Adapters have a legitimate place, but they do not create power. A
50-amp RV connected to a 30-amp generator through a dogbone adapter can operate, but the entire RV is still limited to the generator’s 30-amp output. Treat it like a smaller electrical service and manage loads accordingly.
Avoid lightweight household extension cords, improvised multi-outlet setups, and any adapter with exposed or damaged connections. Never use a male-to-male cord. That type of cord can energize exposed prongs and is dangerous.
How to Connect a Generator to an RV Step by Step
Park the generator outside on level ground, well away from doors, windows, vents, and neighboring campsites. Carbon monoxide is odorless, and generator exhaust can enter an RV quickly. A working RV carbon monoxide detector is essential whenever you use a generator.
With the generator off, switch off or unplug major loads inside the RV. Turn off the air conditioner, electric water heater element, microwave, coffee maker, and battery charger if possible. Starting with a lighter load reduces stress on the generator and lowers the chance of a breaker trip.
Inspect the generator outlet, shore cord, and RV inlet. Look for loose blades, cracked insulation, melting, corrosion, or moisture. If a plug feels unusually loose or a cord has heat damage, replace it before use.
Connect the RV shore-power cord to the generator directly, or attach the correct adapter first and then make the connection. Make sure twist-lock connectors are fully inserted and rotated until they lock. Keep the connection off wet ground and protected from rain, but do not wrap the generator itself in a tarp or place it in an enclosed box where it cannot ventilate.
Start the generator and allow it to stabilize for a minute or two. Then turn on the RV’s main breaker or connect the shore-power cord if your setup requires that order. Add loads one at a time. Start with battery charging and refrigerator operation, then add larger loads only after confirming the generator is running smoothly.
When shutting down, reverse the process. Turn off high-draw appliances first, disconnect or switch off the RV load, let the generator run briefly without a load if the manufacturer recommends it, and then shut it down. This routine is simple, but it protects both your appliances and the generator’s alternator.
Calculate Running Watts Before You Camp
Air conditioning is the load that changes the generator decision for most RV owners. A typical 13,500 BTU RV air conditioner may use roughly 1,300 to 1,800 running watts, but its startup demand can be much higher. A 15,000 BTU unit can require even more, particularly in hot weather.
That startup surge explains why a generator that appears large enough on paper may still stumble when the compressor cycles on. A soft-start device installed on the air conditioner can reduce startup demand significantly. It is one of the most useful upgrades for campers trying to run an AC unit from a 2,000- to 3,000-watt inverter generator.
Other common loads include the converter or battery charger, refrigerator on electric mode, microwave, hair dryer, coffee maker, and electric water heater. You do not need to avoid every appliance. You do need to avoid running several heating appliances at the same time as the air conditioner.
A simple operating plan works well: run the water heater and refrigerator on propane when appropriate, charge batteries before using the microwave, and wait to use the coffee maker until the air conditioner is cycling off. This is less about inconvenience than preventing nuisance breaker trips and low-voltage stress on motors and electronics.
Inverter Generators, Open-Frame Models, and Parallel Kits
For most RV travelers,
inverter generators are the better fit. They are typically quieter, use fuel more efficiently under lighter loads, and produce cleaner power for electronics. Models in the 2,000- to 4,500-watt range are popular because they are easier to transport than large open-frame units.
Open-frame generators usually offer more watts per dollar and may be a sensible choice for boondocking on private land, emergency use, or powering a larger RV with high demand. Their trade-off is noise, size, and fuel consumption. They are rarely the best neighbor-friendly option in a crowded campground.
Two matching inverter generators connected with an approved parallel kit offer another approach. You can carry one unit for battery charging and light loads, then connect both when air conditioning is necessary. Use only a manufacturer-approved or properly rated parallel system. Do not attempt to combine generators with homemade wiring.
Grounding, GFCI Trips, and Other Common Problems
Generator grounding is not always a one-size-fits-all rule. Many portable generators are designed with a bonded neutral, while many RV electrical systems and surge protectors expect a floating neutral. The result can be a GFCI trip or an electrical management system that refuses incoming power.
Follow the generator and RV manufacturer instructions before using a bonding plug or changing any grounding arrangement. A bonding plug is not a universal fix, and modifying generator wiring can create a shock hazard or affect warranty coverage. If repeated GFCI trips or error codes persist, an RV electrician can identify whether the issue is the generator neutral, a surge protector, or a fault in the RV.
A portable RV surge protector or electrical management system is also worth using with a generator. It can alert you to low voltage, high voltage, reverse polarity, and other conditions that can damage appliances. It will not make an undersized generator adequate, but it adds valuable protection.
A Safer, More Useful RV Power Setup
The best generator connection is usually the simplest one: an RV-ready generator, a short heavy-duty cord, correctly rated adapters only where needed, and a realistic plan for your electrical loads. Spend the extra time to confirm amperage, outlet type, and air-conditioner demand before buying accessories.
Once you connect generator to RV with the right equipment, the goal is not to recreate unlimited campground shore power. It is to have dependable power for the appliances that matter most, without overheating a cord, tripping a breaker, or disturbing everyone nearby.