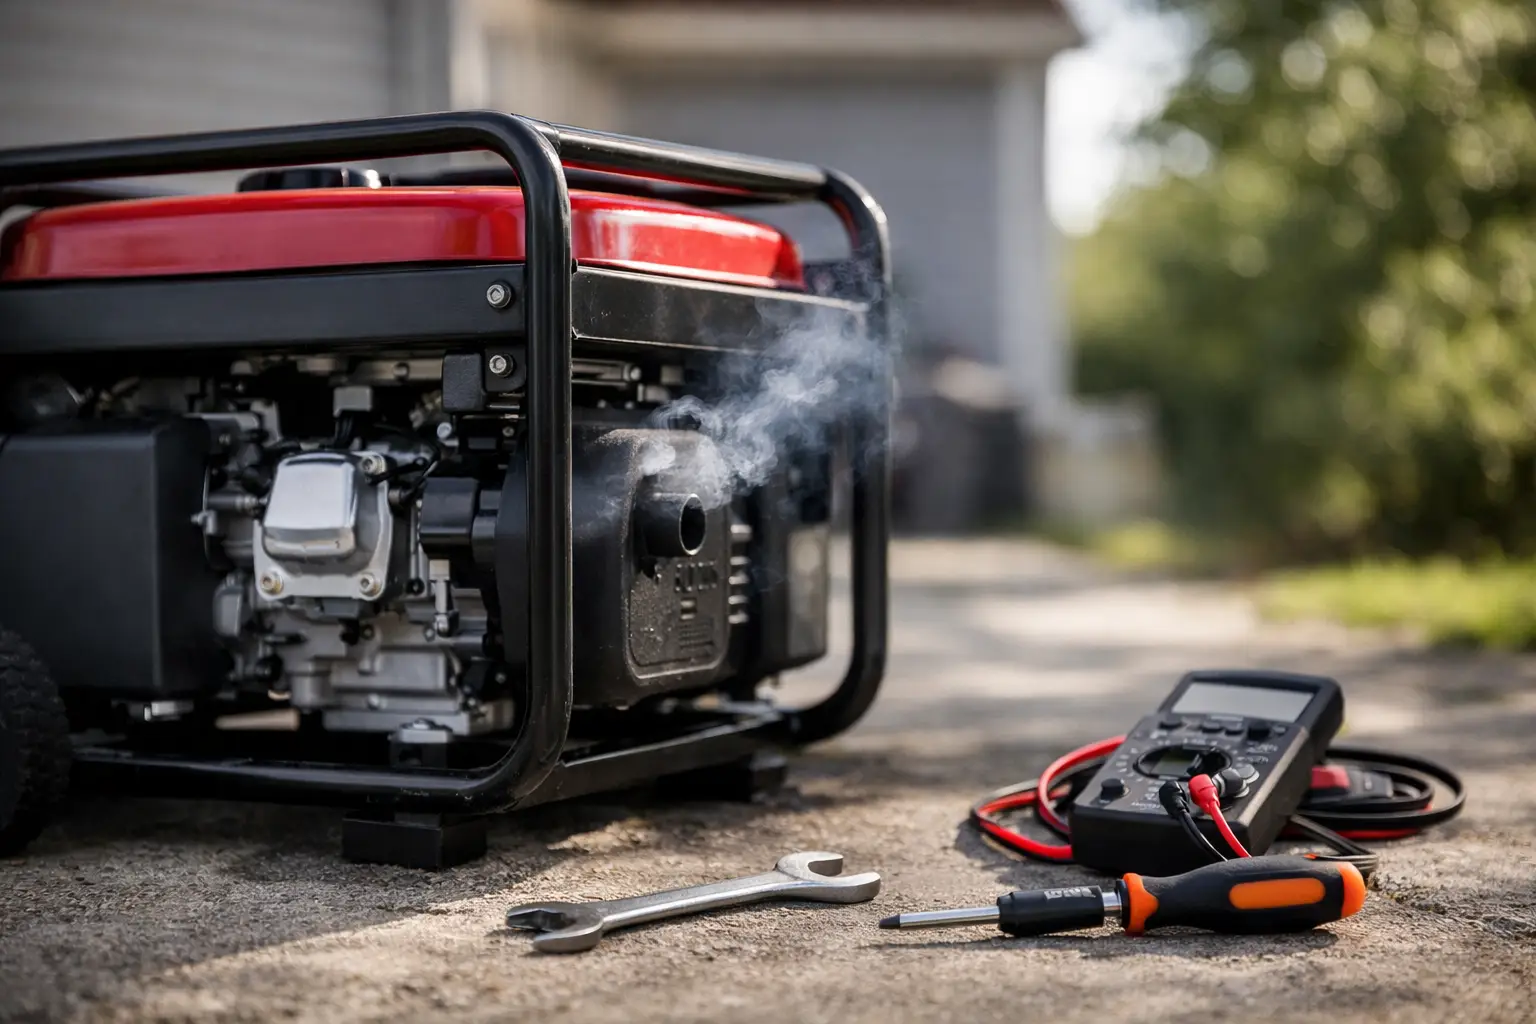
A new portable generator can start, make power, and still be far from ready for a demanding outage or a long weekend off-grid. The generator break in procedure gives its engine a controlled first few hours, allowing internal parts to mate properly before you ask it to carry serious loads. Skip it, and you may shorten engine life, increase oil consumption, or overlook a setup problem when the stakes are low.
For homeowners and recreational users, the goal is simple: follow the manufacturer’s schedule, use the right oil, vary the electrical load, and complete the first oil change on time. Exact requirements differ by engine and brand, so the owner’s manual always takes priority over a general procedure.
Why a New Generator Needs Break-In Time
Small gasoline generator engines have moving parts that need a short settling-in period. During the first hours, piston rings seat against the cylinder wall, bearings establish normal contact patterns, and gears and valve-train components begin wearing into their intended surfaces. This is controlled, normal wear, but it produces fine metallic particles that end up in the crankcase oil.
That is why the first oil change matters more than many owners realize. Fresh oil removes the material generated during this early period and gives the engine a clean start for regular service. On a conventional portable generator, the first change is often due after 5 to 20 running hours. Some manuals specify a different interval, particularly for inverter generators, so do not assume one schedule fits every model.
Break-in is not about running the generator at full throttle without a load. It is also not about idling it for an afternoon. An engine benefits from moderate, changing load that brings it up to operating temperature while avoiding excessive heat and sustained strain.
Before You Start the Generator Break In Procedure
Set the generator outdoors on a firm, level surface. Keep it well away from doors, windows, vents, garages, tents, and RV openings. Carbon monoxide can accumulate quickly, even when a space feels open or partially ventilated. A battery-powered carbon monoxide alarm inside the home or RV is a worthwhile backup layer, but it does not make indoor generator operation safe.
Check the oil level before the first start. Many portable units, including popular inverter models such as the Honda EU2200i and Champion 2500-watt class generators, are shipped with little or no engine oil. Fill only to the manual’s specified level and use the recommended oil weight. For many air-cooled four-stroke engines, SAE 10W-30 is common, but temperature range and manufacturer guidance matter.
Use fresh gasoline from a clean container. If the generator will sit for more than a few weeks after break-in, ethanol-free fuel can reduce storage concerns where it is available. Otherwise, use a fuel stabilizer rated for ethanol-blended gasoline. Never use old fuel left in a can from the previous season.
Have a few suitable loads ready before starting. Incandescent work lights, a box fan, a small space heater, or a plug-in load bank can work well. Avoid starting break-in with a refrigerator, air conditioner, well pump, or power tool that has a high surge demand. You want predictable, adjustable wattage, not sudden startup loads.
How to Break In a New Portable Generator
1. Inspect, fuel, and start it correctly
With the generator level, check for loose fasteners, shipping material, fuel leaks, and obvious damage. Add oil and fuel, open the fuel valve if equipped, set the choke as directed, and start the engine. Let it run with no electrical load for about three to five minutes, or according to the manual.
This brief warm-up is enough to circulate oil and stabilize operation. Do not leave a new generator running unloaded for an extended period. Long no-load operation can prevent the engine from reaching a useful operating temperature and does little to test the alternator or controls.
2. Add a light load, then vary it
After warm-up, connect a light load around 25 percent of rated running watts. On a 2,000-watt generator, that could be roughly 400 to 500 watts of lights and a fan. Run for 20 to 30 minutes while listening for abnormal vibration, surging, fuel odor, or warning lights.
Then increase to a moderate load, generally 40 to 60 percent of rated running watts, and run for another 30 to 60 minutes. Varying the load is useful because it changes cylinder pressure and engine temperature in a controlled way. Avoid holding any small portable generator at maximum rated output for long during its first hours.
For an inverter generator, Eco Mode may be used only if the manual allows it and the attached load is stable. In many cases, turning Eco Mode off during early operation makes it easier to keep engine speed and loading consistent. Again, the manual decides this point.
3. Check the generator while it runs
A break-in session is the right time to confirm that the generator actually suits your intended use. Verify that AC outlets work, circuit breakers remain set, and the fuel gauge or runtime display behaves normally if included. If you bought the unit for home backup,
test the extension cords and the appliances you plan to power one at a time.
Do not connect a portable generator directly to household wiring without a properly installed transfer switch or generator interlock. A dryer outlet, improvised cord, or backfeed connection can energize utility lines and create a lethal hazard for utility workers and your household. Break-in power should be supplied through standard outlets, a listed power inlet with proper transfer equipment, or an approved connection designed by a qualified electrician.
4. Shut down, inspect, and repeat as needed
After each run period, turn off and unplug loads before shutting down the generator. Let the engine cool, then check the oil level and look for drips around the fuel line, drain plug, and engine case. Slight oil-level changes may occur as oil fills internal passages, but a meaningful drop or visible leak needs attention before continued use.
Continue this light-to-moderate loading cycle until you reach the first service interval stated in your manual. Depending on the generator, this could be one extended session or several shorter sessions. It is better to spread the work across two or three supervised runs than to leave a new unit operating unattended for hours.
Complete the First Oil Change
Once the break-in interval is complete, change the oil while the engine is warm, not hot. Warm oil flows more freely and carries more suspended particles out of the crankcase. Turn off the fuel valve if the manual recommends it, place a drain pan beneath the unit, remove the drain plug or access cover, and allow the oil to drain fully.
Refill with the correct type and amount of fresh oil, then check the level with the generator sitting level. Do not overfill. Too much oil can cause smoking, fouled plugs, or crankcase pressure problems.
Dispose of used oil through a local recycling facility or auto-parts store that accepts it. Record the date, running hours, oil type, and any observations in a maintenance log. Hour meters are especially useful on generators used for emergency backup because calendar time alone does not show how much the engine has run.
Common Break-In Mistakes to Avoid
The most common error is assuming every new generator needs the same routine. Some manufacturers specify a first oil change at five hours, others at 20 hours, and a few have special instructions for initial oil, filters, or load testing. Following a generic schedule against the manual can affect warranty coverage.
Another mistake is using only a tiny load. A phone charger and one LED bulb may confirm that an outlet works, but they do not meaningfully exercise a 3,000-watt generator. Conversely, running a new 4,500-watt open-frame model at its limit with a large air compressor or RV air conditioner creates unnecessary stress. Moderate, varied demand is the better middle ground.
Also avoid treating break-in as the end of maintenance. Fuel care, air-filter inspection, spark-plug service, exercise runs, and periodic oil changes determine whether the generator is ready months later. For standby use, a monthly test under a modest load helps identify stale fuel, battery issues on electric-start models, and connection problems before an outage.
When Break-In May Be Different
Most gasoline-powered portable generators benefit from this process. Diesel generators may have their own commissioning requirements, often involving longer running periods and different load recommendations. Whole-home standby generators are also different: installation, initial startup, and exercise programming are commonly handled by a dealer or qualified technician.
Battery power stations do not have engine break-in requirements, though they should still be charged, tested with realistic loads, and stored according to the battery manufacturer’s instructions. If your equipment uses a propane conversion kit or
dual-fuel system, perform the first run on the fuel and configuration approved in the manual, then test the alternate fuel mode separately.
A careful first day with a generator is inexpensive insurance. Learn its sounds, verify its output, complete the early oil change, and keep the manual with your maintenance records. When the power goes out, familiarity is every bit as valuable as wattage.