A generator that ran perfectly last season but now starts only with choke, hunts for speed, or dies under load often has one common problem: stale fuel in the carburetor. Generator carburetor cleaning can restore reliable starting and steady output, but only when the carburetor is truly the source of the problem. A clogged fuel filter, old spark plug, low oil shutdown, or incorrect choke setting can produce similar symptoms.
For homeowners protecting a refrigerator during an outage, RV owners relying on a portable inverter generator, and jobsite users who cannot afford downtime, the goal is not simply to spray cleaner into the intake. The goal is to remove fuel deposits from the passages that meter gasoline and air, then prevent the issue from returning.
Generator Carburetor Cleaning: Start With Diagnosis
Gasoline begins to deteriorate sooner than many owners expect. As it sits, especially in a vented fuel system, volatile components evaporate and remaining fuel can form varnish-like deposits. Those deposits are small, but so are the carburetor’s idle circuit, pilot jet, and main jet. A nearly invisible restriction can make a generator hard to start or cause it to surge repeatedly.
A carburetor problem is likely if the generator starts briefly with starting fluid but will not continue running, runs only with the choke partially closed, surges at no load, or stalls as soon as an appliance is connected. A strong smell of old gasoline and yellow or brown fuel in the tank are further clues.
Before removing parts, check the simple items. Confirm there is fresh fuel in the tank and that the fuel valve is open. Verify the engine oil is at the correct level, since many portable generators will not run if the low-oil sensor is active. Inspect the air filter, spark plug, and fuel line for obvious damage. If fuel is several months old and was not treated with stabilizer, drain it before doing anything else.
Surging deserves a little caution. On an
inverter generator, some variation in engine speed can occur as the unit adjusts to electrical demand. Constant rhythmic revving at no load, however, usually points to a lean fuel condition, commonly caused by a dirty carburetor or restricted fuel flow.
Safety and Supplies Before You Begin
Work outdoors or in a well-ventilated area, away from pilot lights, cigarettes, battery chargers, and any other ignition source. Gasoline and aerosol carburetor cleaner are highly flammable. Let a recently used generator cool completely, and disconnect the spark plug wire so the engine cannot start unexpectedly.
For most portable generator carburetors, gather a drain pan, clean rags, nitrile gloves, safety glasses, a socket set, screwdrivers, needle-nose pliers, carburetor cleaner, and compressed air. A small wire from a purpose-made jet cleaning kit can be useful, but avoid forcing oversized wire through a brass jet. Enlarging the opening changes the fuel mixture and can create a new running problem.
It also helps to have a replacement bowl gasket, fuel line clamp, and spark plug available before starting. If the generator has been stored with untreated gas for a long time, a replacement carburetor may be a more sensible repair than a rebuild kit, particularly on common open-frame portable generators where complete replacement units are often inexpensive.
Drain the Fuel System First
Turn the fuel valve off, if equipped, and place a drain pan beneath the carburetor. Many generators have a bowl drain screw near the bottom of the carburetor. Loosen it carefully and drain the bowl. If there is no drain screw, you will drain the bowl when it is removed.
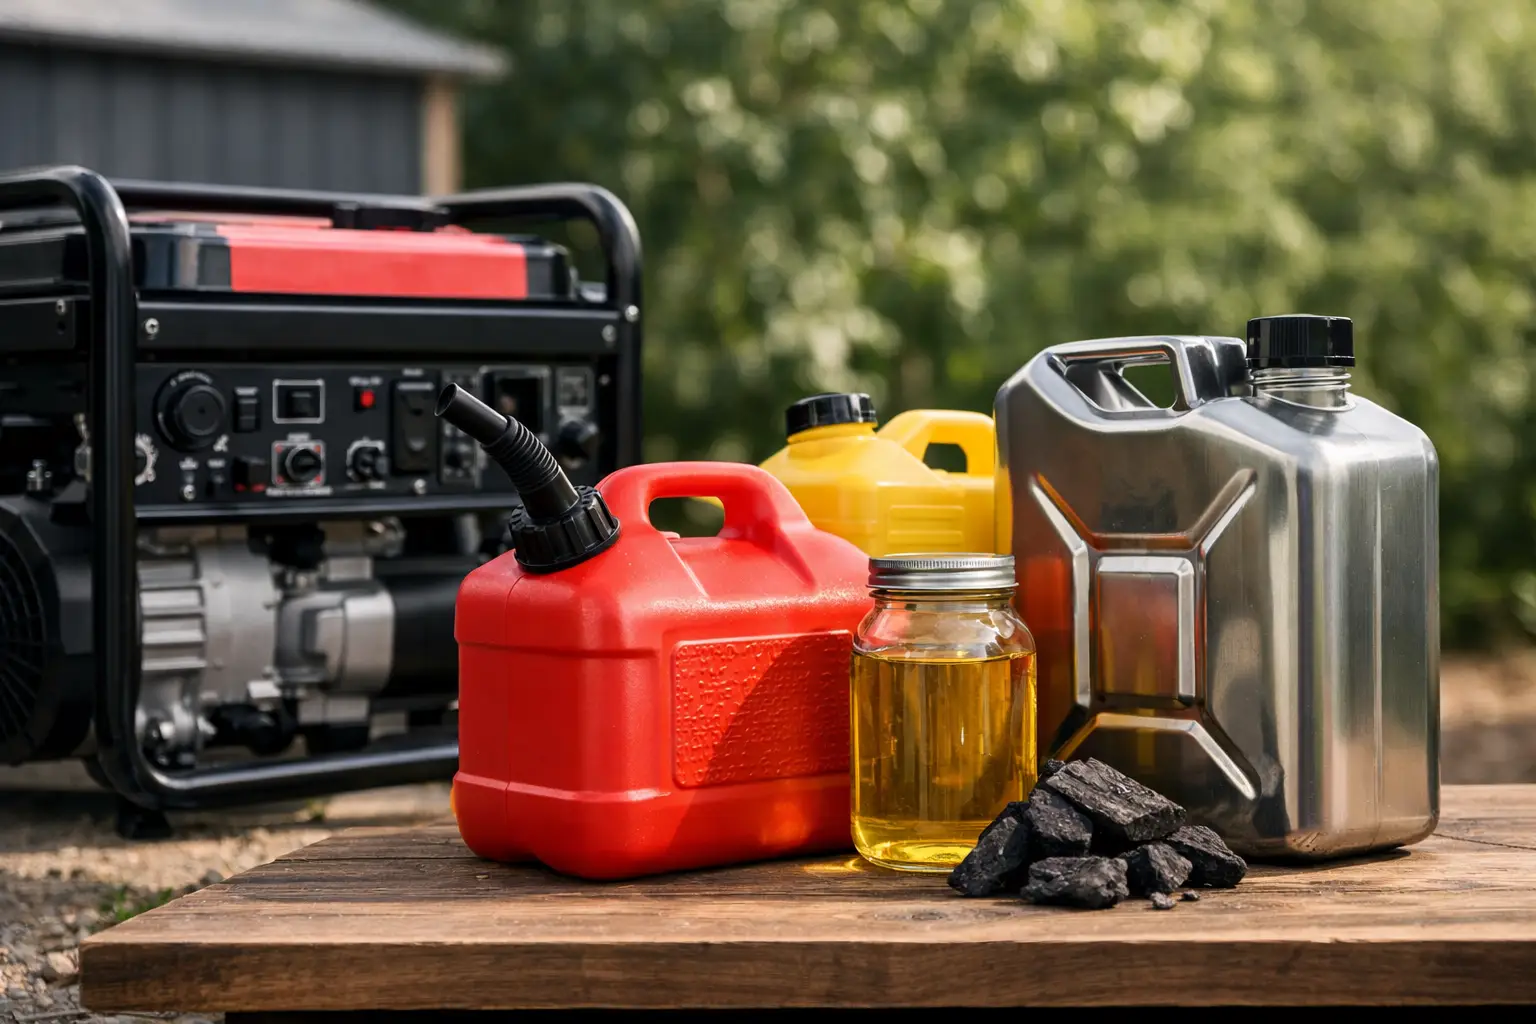
Next, drain the fuel tank into an approved gasoline container. Do not pour old gasoline into a storm drain, onto the ground, or into household trash. Local household hazardous-waste programs or participating automotive service locations may accept old fuel, depending on the area.
With the tank empty, inspect the fuel line. If it feels brittle, cracked, swollen, or leaves black residue on your fingers, replace it. A small inline fuel filter is a worthwhile addition on many non-inverter portable generators, provided it is rated for gravity-fed small-engine fuel systems and installed in the correct direction.
Remove the Carburetor Carefully
Take a few clear photos before disconnecting linkages. This simple step makes reassembly much easier, especially when the throttle spring and governor linkage are close together.
Remove the air filter cover and air filter assembly. On many engines, the carburetor sits behind the air box and is secured by two nuts or bolts on intake studs. Disconnect the fuel line, using pliers to move the clamp back first. Expect a small amount of fuel to spill even after draining.
Slide the carburetor off the studs slowly. Note the order of the gaskets and any insulating spacer between the carburetor and engine. A misplaced gasket can create an air leak that causes rough running after cleaning. Disconnect the throttle and choke linkages without bending them, then place the carburetor on a clean work surface.
Some inverter generators use tight packaging behind access panels, and their carburetors can be more tedious to reach. If removing body panels or linkages feels beyond your comfort level, a small-engine service shop is a reasonable choice. The trade-off is labor cost versus the risk of damaging a plastic panel, wire connector, or governor spring.
Clean the Bowl, Jets, and Fuel Passages
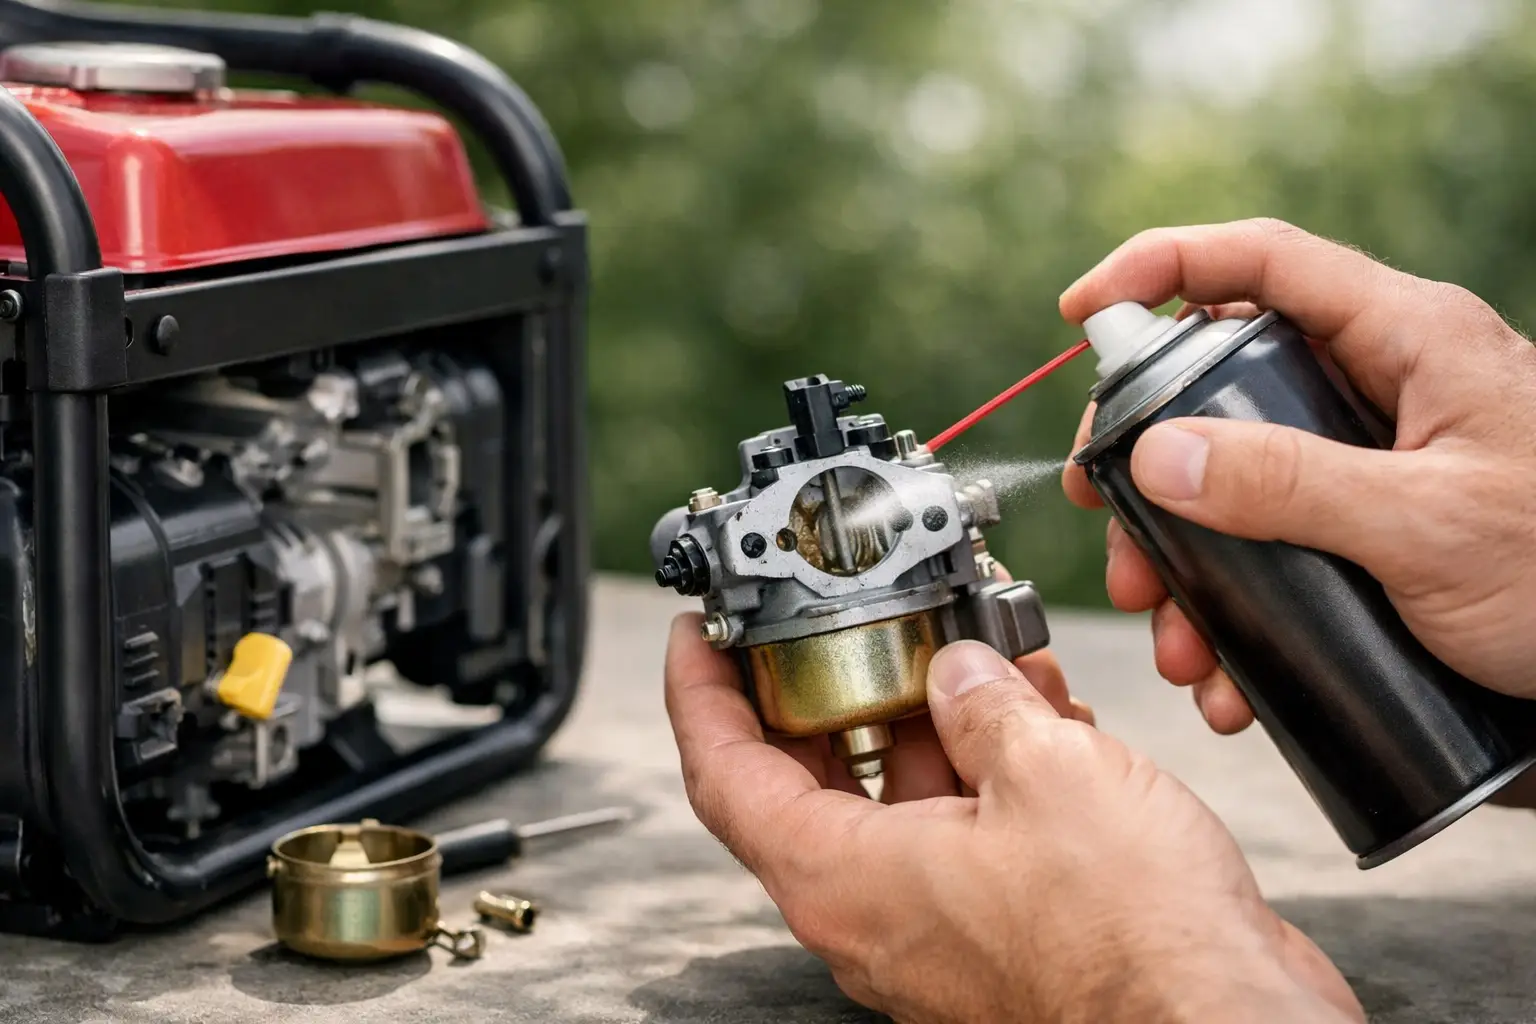
Remove the bowl nut or center bolt and lower the carburetor bowl. The bowl nut often doubles as the main jet on small engines, so inspect every tiny opening in it. Spray carburetor cleaner through each opening, then follow with compressed air. Wear eye protection because cleaner can exit unexpectedly from another passage.
Look inside the bowl for flakes, gum, water, or rust-colored sediment. Wipe it clean with a lint-free rag. If the bowl is badly corroded, replacement is preferable to trying to polish away loose material that may later clog the jet.
Remove the main jet and emulsion tube if your carburetor design allows it. Their exact arrangement varies by engine, so work deliberately and avoid mixing parts. Spray cleaner through the central opening and each side hole until the spray exits freely. Do the same for the pilot jet, if accessible. These small openings are frequently responsible for a generator that will run only with choke.
Do not soak rubber seals, plastic components, or the carburetor float in harsh cleaner unless the product specifically says it is safe for them. Check that the float moves freely on its hinge and that the needle valve is not stuck. If the needle tip is worn or the float has fuel inside it, install a rebuild kit or replace the carburetor.
Spray cleaner through the fuel inlet and visible internal passages, then use short bursts of compressed air. You should see flow at related openings. Never blast high-pressure air aggressively into a passage while holding the carburetor close to your face, and never use a drill bit to clean a jet.
Reassemble and Test Under Load
Reinstall the jets, float components, bowl gasket, and bowl. Tighten fasteners snugly, but do not overtighten the bowl bolt or strip soft aluminum threads. Reconnect the throttle and choke linkages exactly as documented, slide the carburetor back onto the intake studs, and reinstall gaskets in their original order.
Attach the fuel line, secure the clamp, and reinstall the air box and a clean air filter. Add fresh gasoline, preferably treated with fuel stabilizer if the generator may sit between uses. Check closely for leaks before reconnecting the spark plug wire.
Start the generator with no appliances connected. It may take several pulls or several seconds of cranking for fuel to refill the bowl. Once it warms up, move the choke to the run position and listen for a smooth, stable engine speed. Then test it with a meaningful load, such as a space heater, circular saw, or other appliance that stays within the generator’s
rated running wattage.
If the engine still surges or stalls, check fuel flow from the tank, the air filter, spark plug condition, and governor linkage. If fuel leaks from the carburetor, the float needle may not be sealing or the bowl gasket may be pinched. Persistent problems after a careful cleaning often justify a replacement carburetor, especially when the generator is needed for
emergency backup power.
Keep Deposits From Returning
The best carburetor repair is the one you do not need again. Use fresh fuel, add stabilizer when storing the generator, and run the engine periodically with a load. For seasonal storage, follow the manufacturer’s procedure for shutting off the fuel valve and running the carburetor dry, or drain the tank and bowl completely.
A generator that starts easily is more than a convenience. It is evidence that the fuel system is ready before a storm, a remote trip, or a critical job puts that readiness to the test.